Shelved!
Once upon a time
OK, now I collected too many books and my IKEA BILLY bookcases keep sagging on me. For the last couple of years I had been chewing on this plan to make big and heavy-duty purpose-built shelving for my Ferrari books. The universe answered (somewhat).
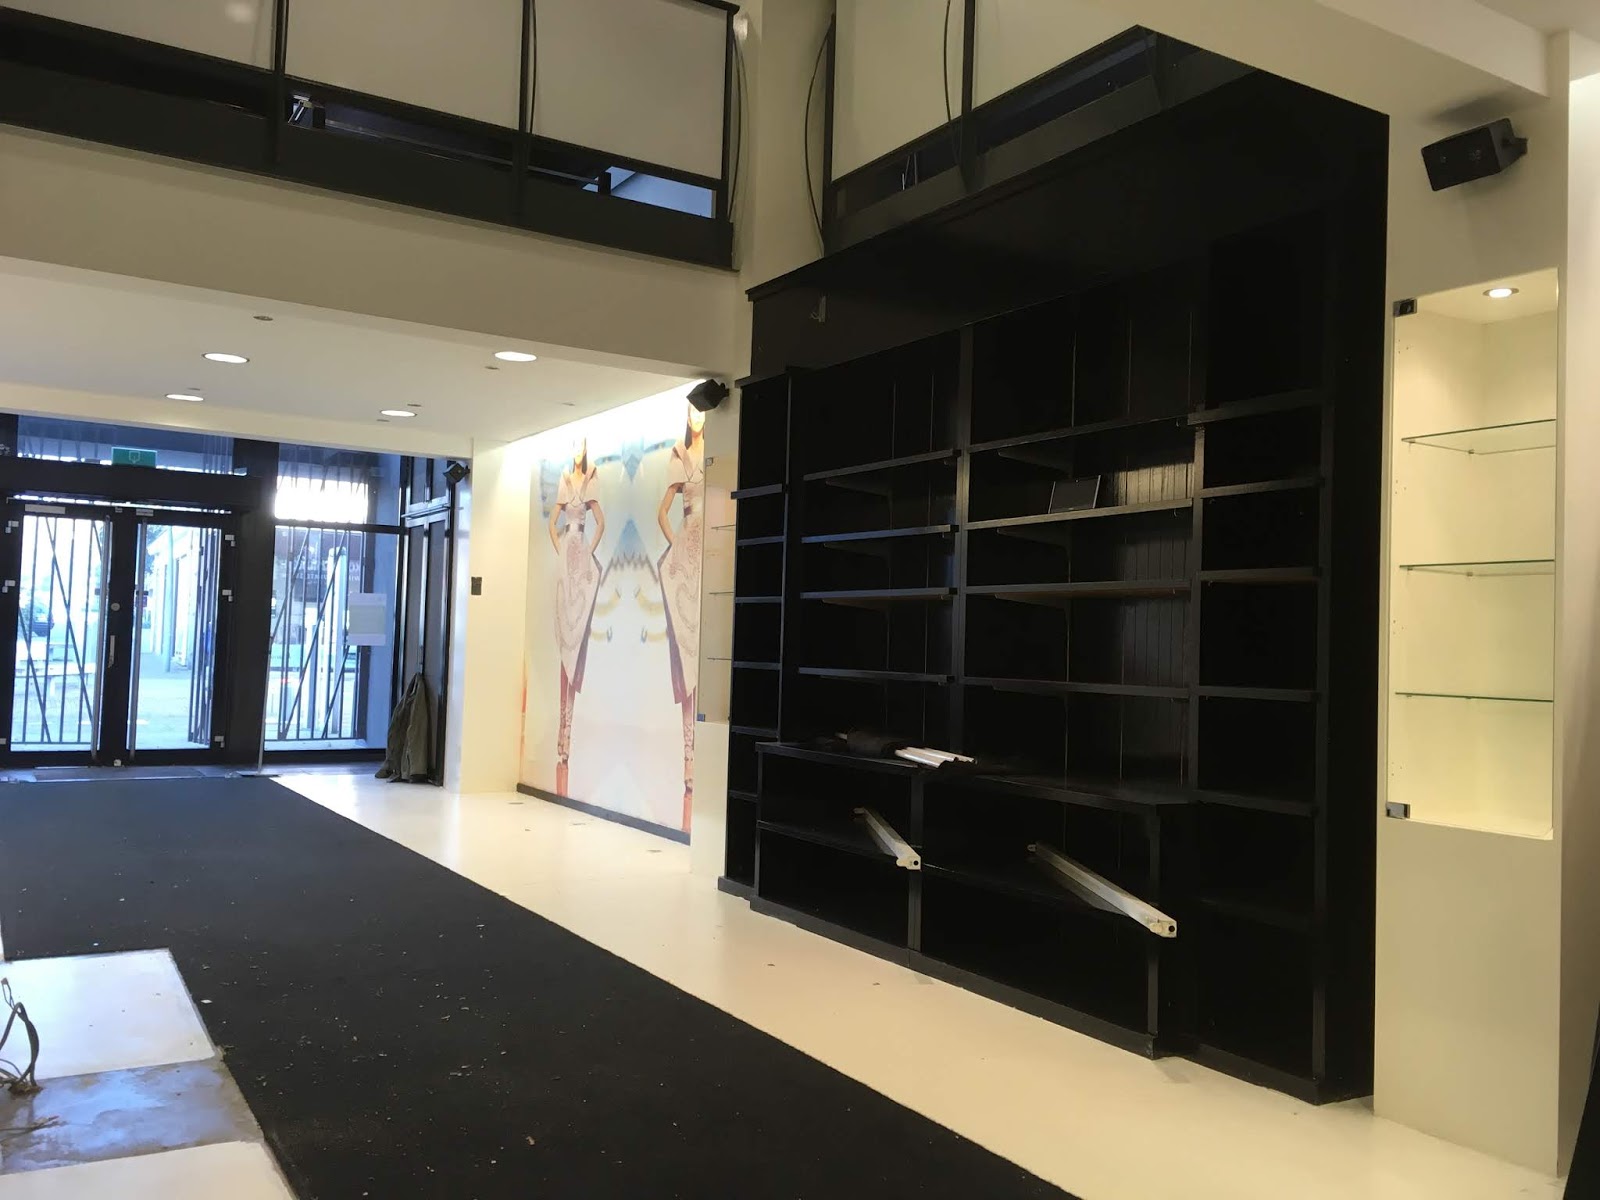
Early 2017 we rented a new shop, but in the negotiations we offered to remove the old interior (and garbage) that the previous tenant had left behind in exchange for other business goals we had. During demolishment we came across this rather big (i.e. some 4 meters wide, 2.6 meters high) clothing shelve; re-painted a glossy black. The horizontal shelfs were useless scraps, but the vertical stands were nice and heavy 40mm thick laminated chipboard. I also managed to save a couple of 28mm laminated fine-grain chipboard shelfs of previous tenant’s clothing-store interior. We borrowed a trailer from a friend to move the salvaged pile of long and heavy shelfs home where they were stored for a couple of months.
Sawdust
Early 2019, the time felt right to start building my heavy-duty purpose-built shelving. Since I would only be able to spent a few days a month, I knew upfront this thing could take a couple months to finish (but boy, did I underestimated that). We don’t have a garage or workshop, and given the way I was gonna do the construction, all the work had to be done in the bedroom / office where the bookcase will end up once finished.
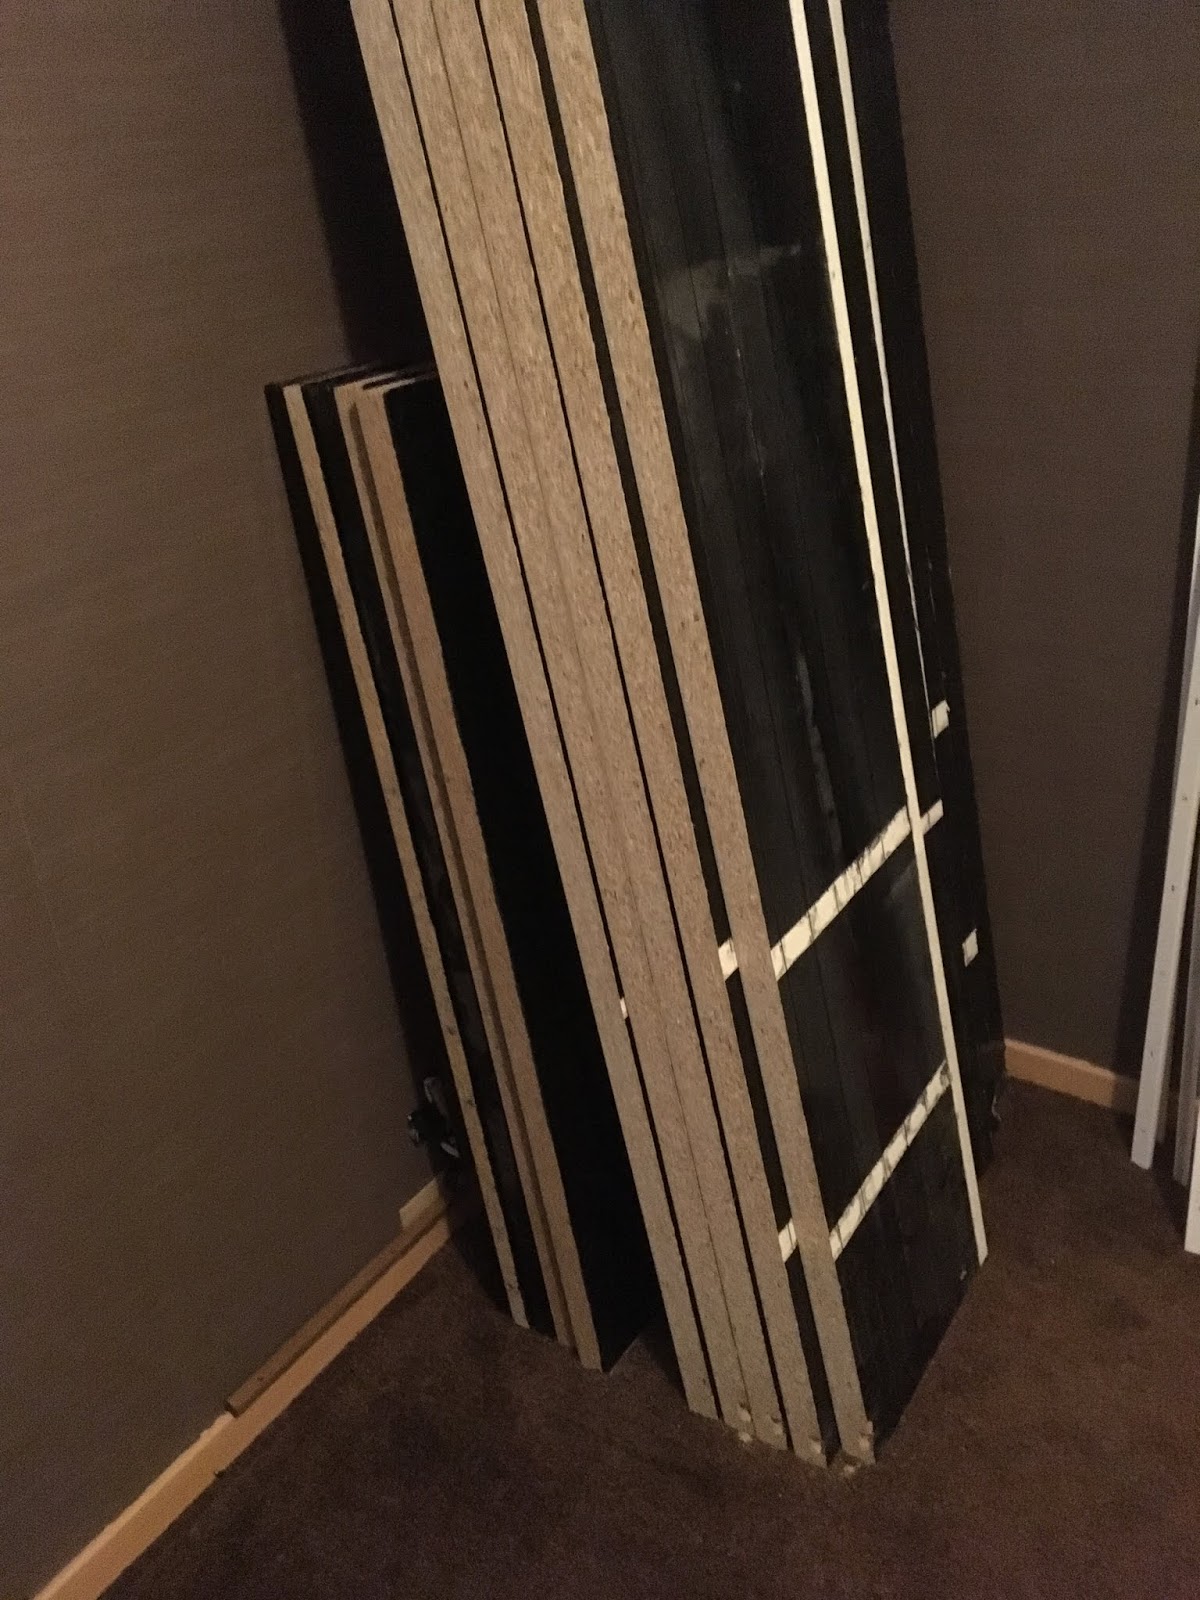
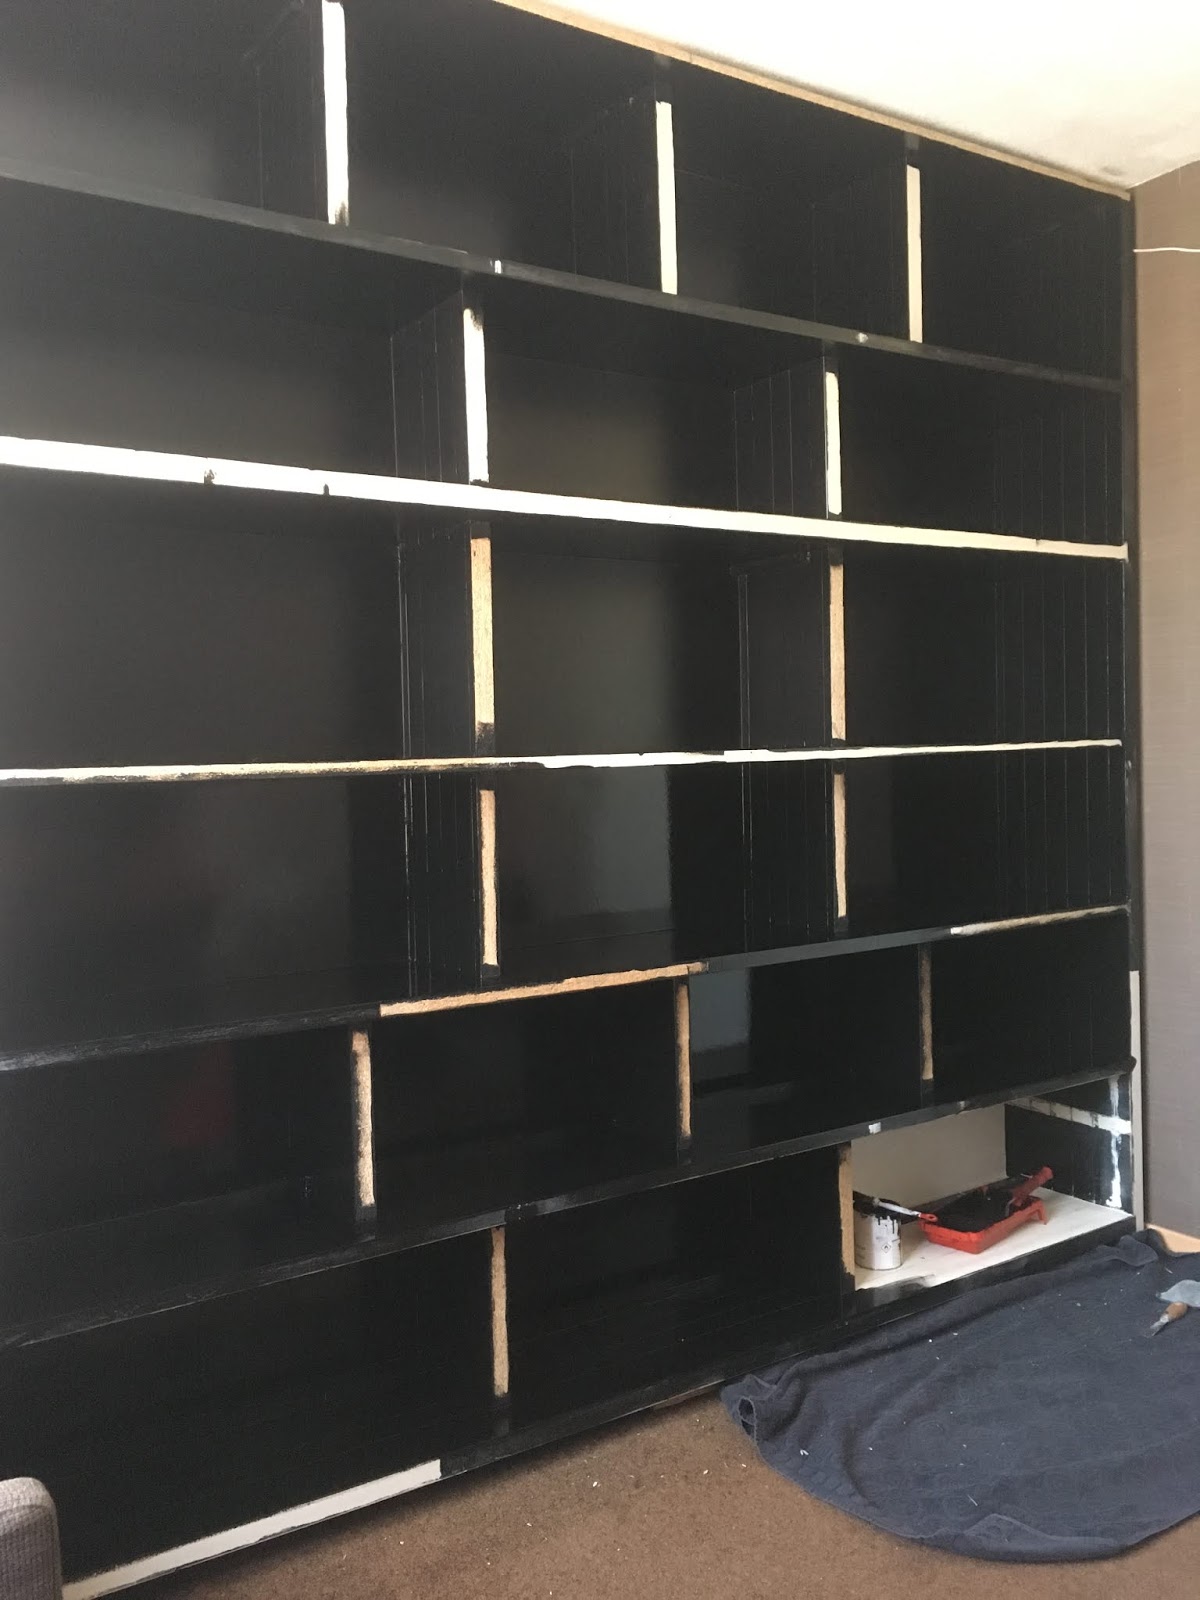
Day 1 consisted of narrowing the depth of the salvaged wood with a circular saw (inside a bedroom, that is an interesting experience, even with a connected vacuum cleaner). The picture shows the finished pile standing against the bedroom wall. The wood was laminated white and beige before repainted glossy black, hence the funky color scheme, that would determine the view for the next couple of months.
Glued & Screwed
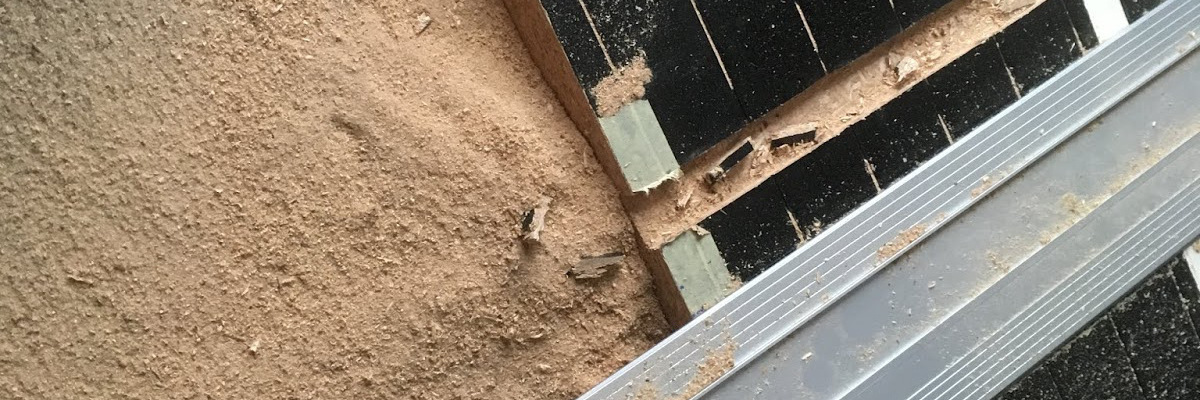
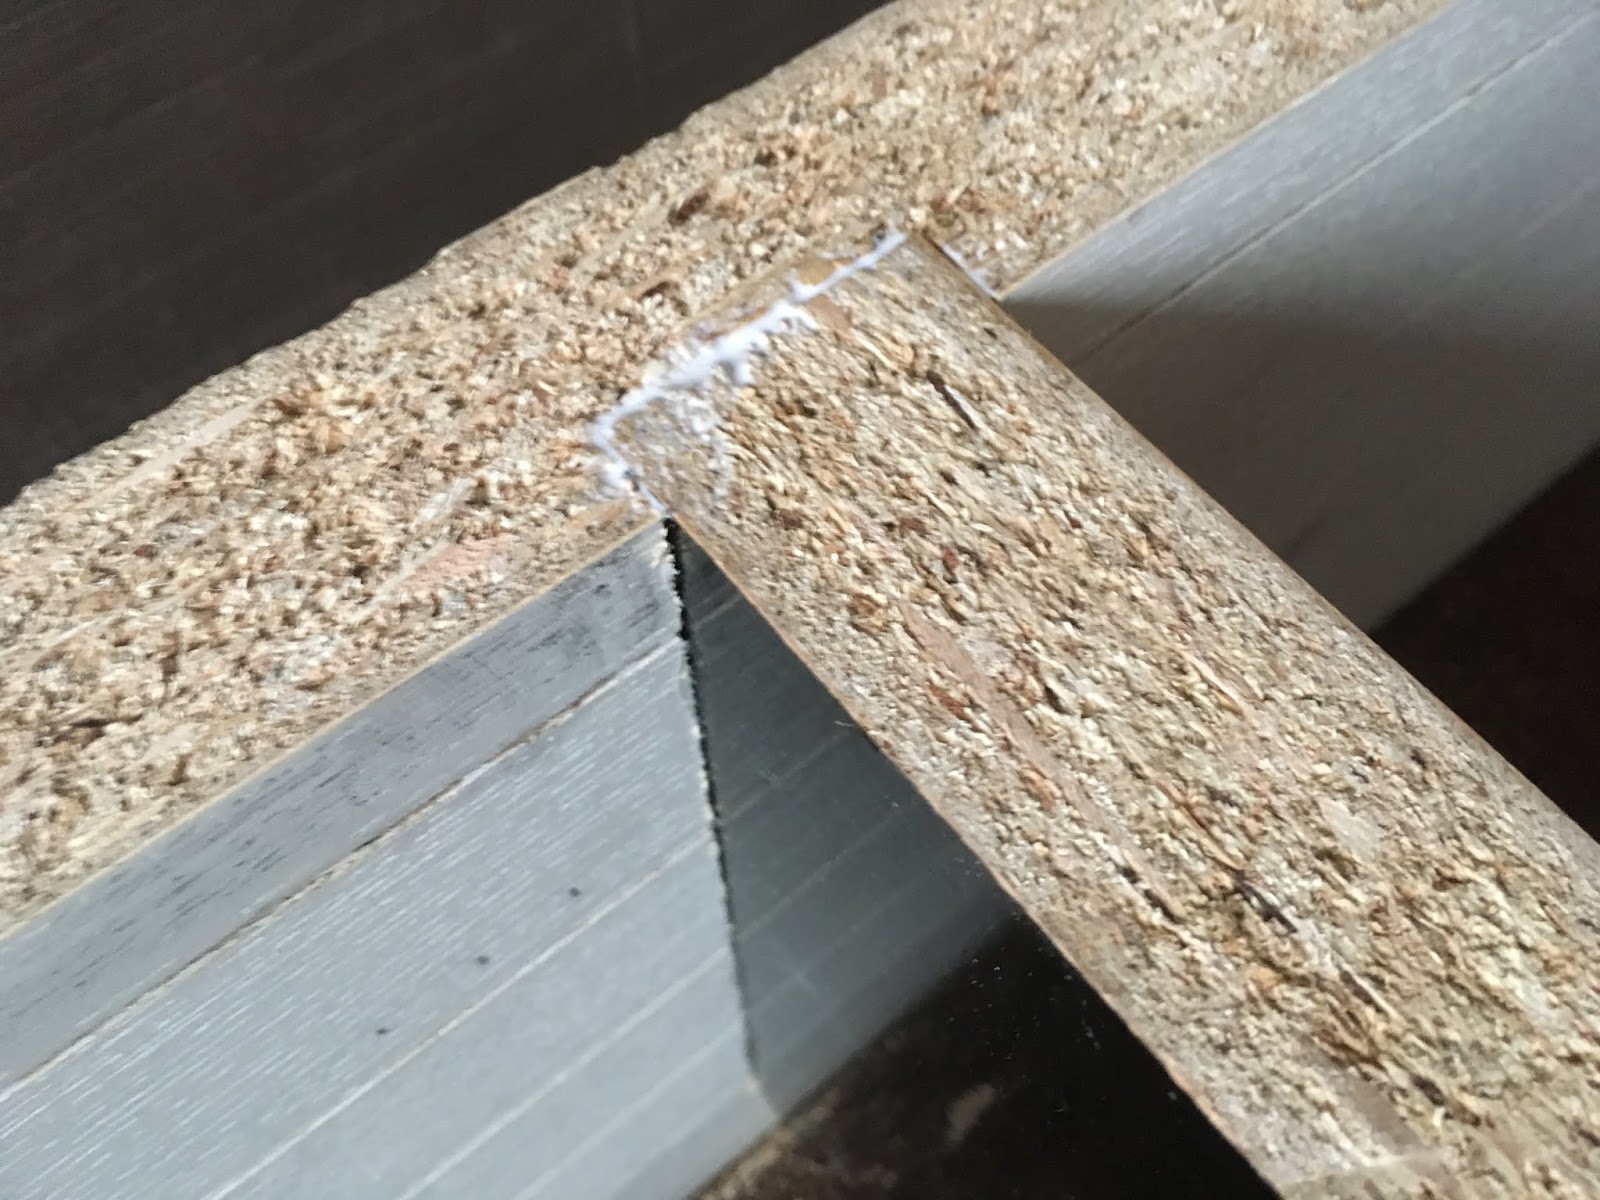
More saw-dust was created when using a router to make (dado) slots for the shelfs to interconnect. Connecting the wood this way give the whole structure good strength while still keeping it somewhat elegant.
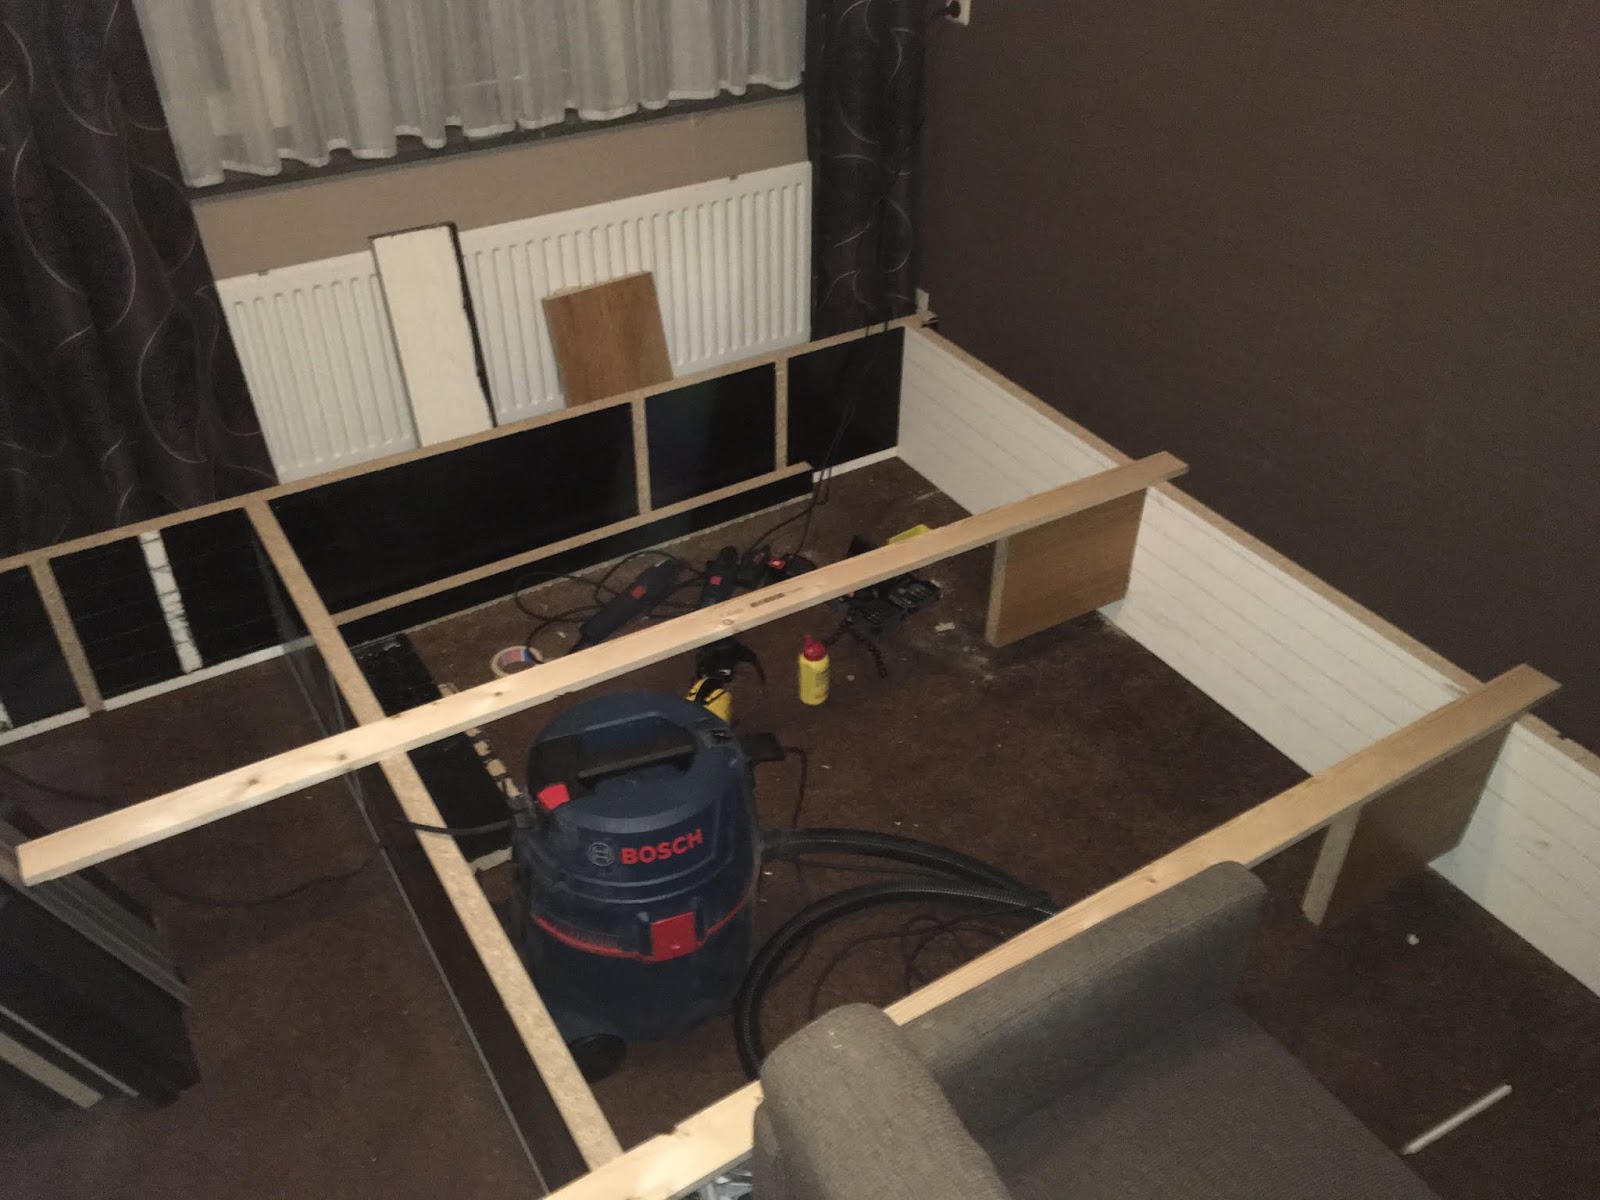
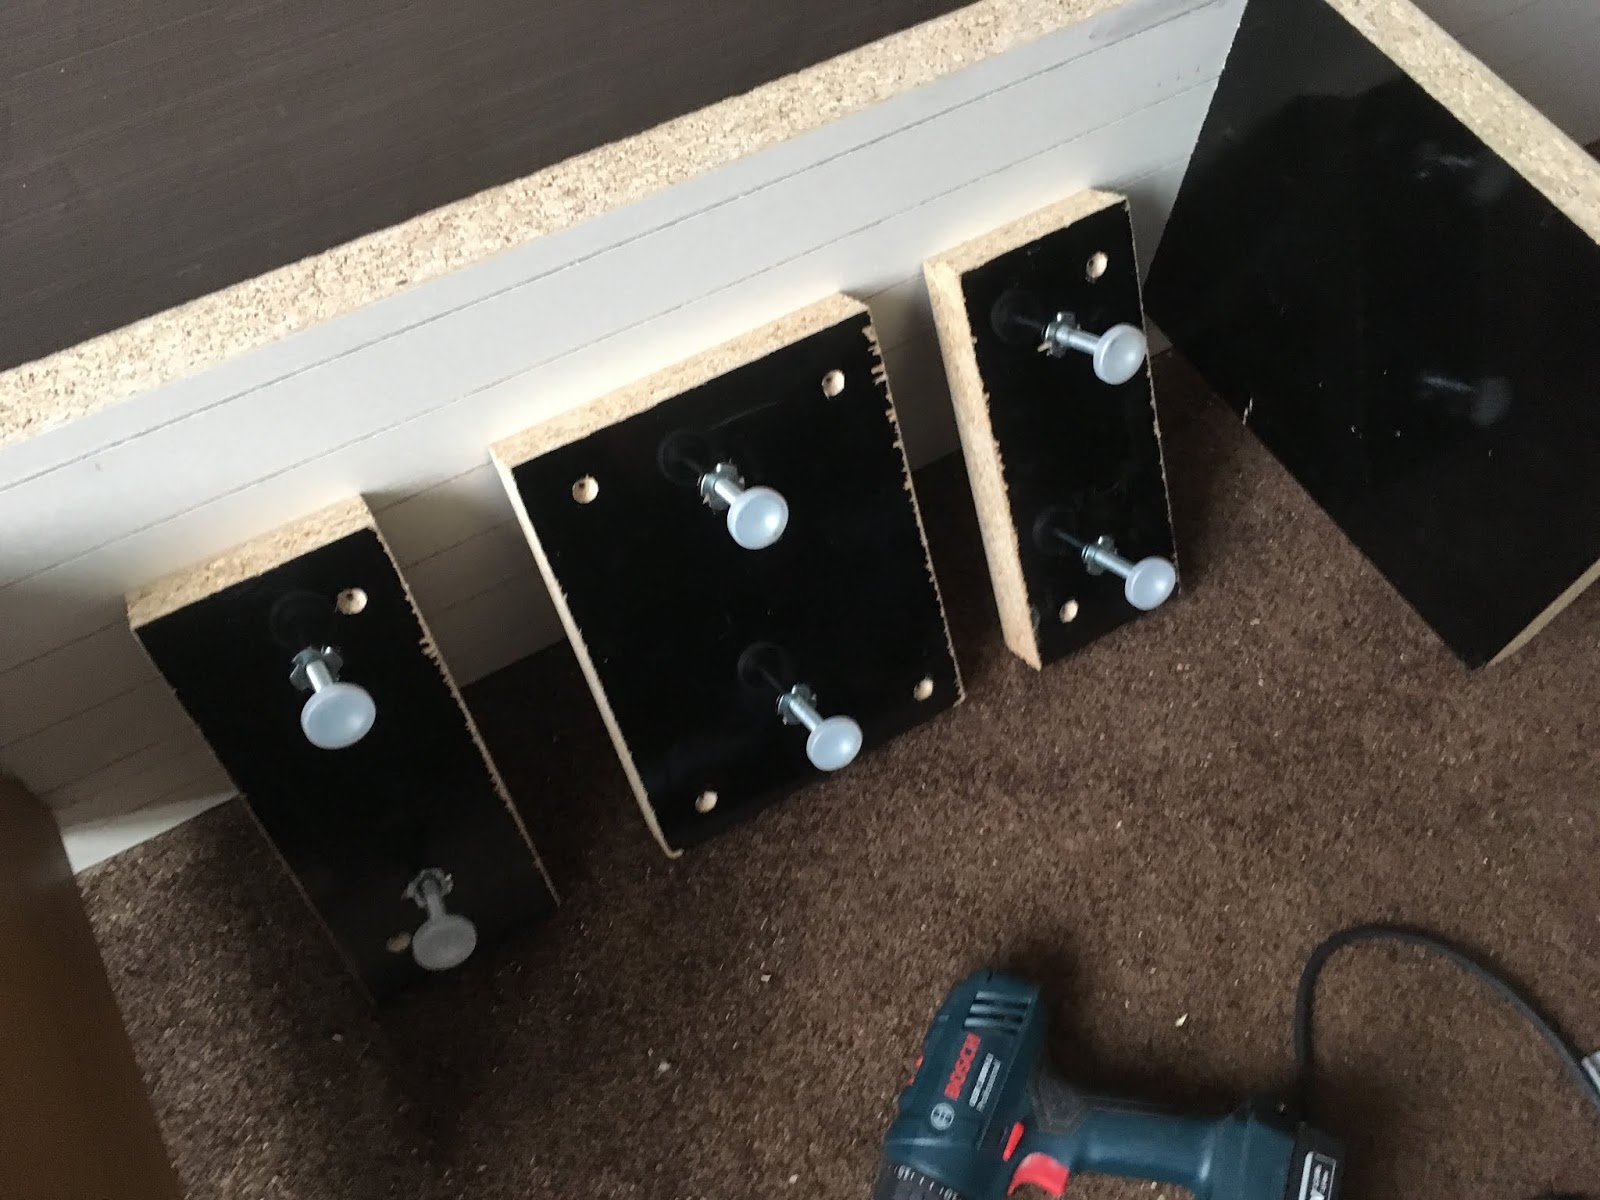
Everything glued together with Gorilla Wood Glue (which I can absolutely recommend) and screwed from the outside to keep things together while the glue is hardening. The screws won’t be visible due to placement against the wall and final finishing of the lefthand-side of the bookcase. Creating the skeleton while the bookcase was essentially lying on its front made it easier to keep things square (but barely fits on the floor). A couple of adjustable feet (salvaged too) were installed to keep the bottom shelf from sagging in the middle while providing a way to level the bookcase and keep it snug to the wall behind.
Compartments
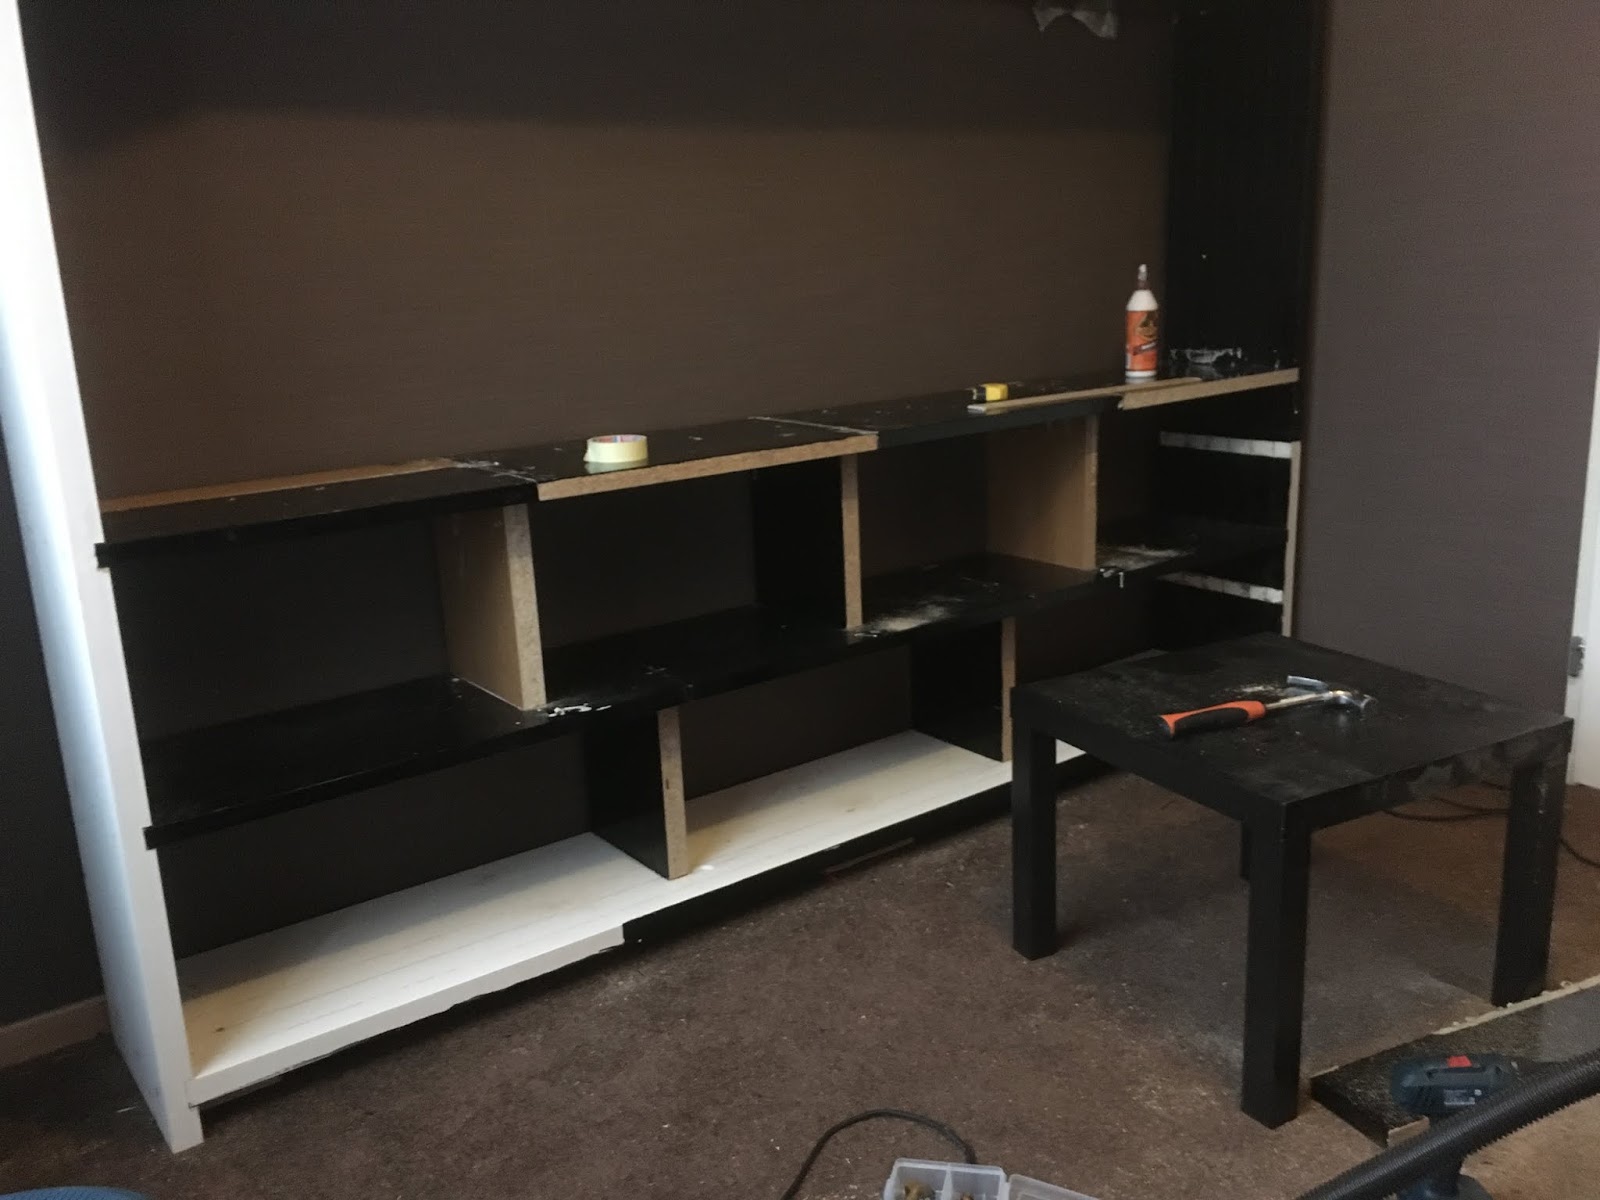
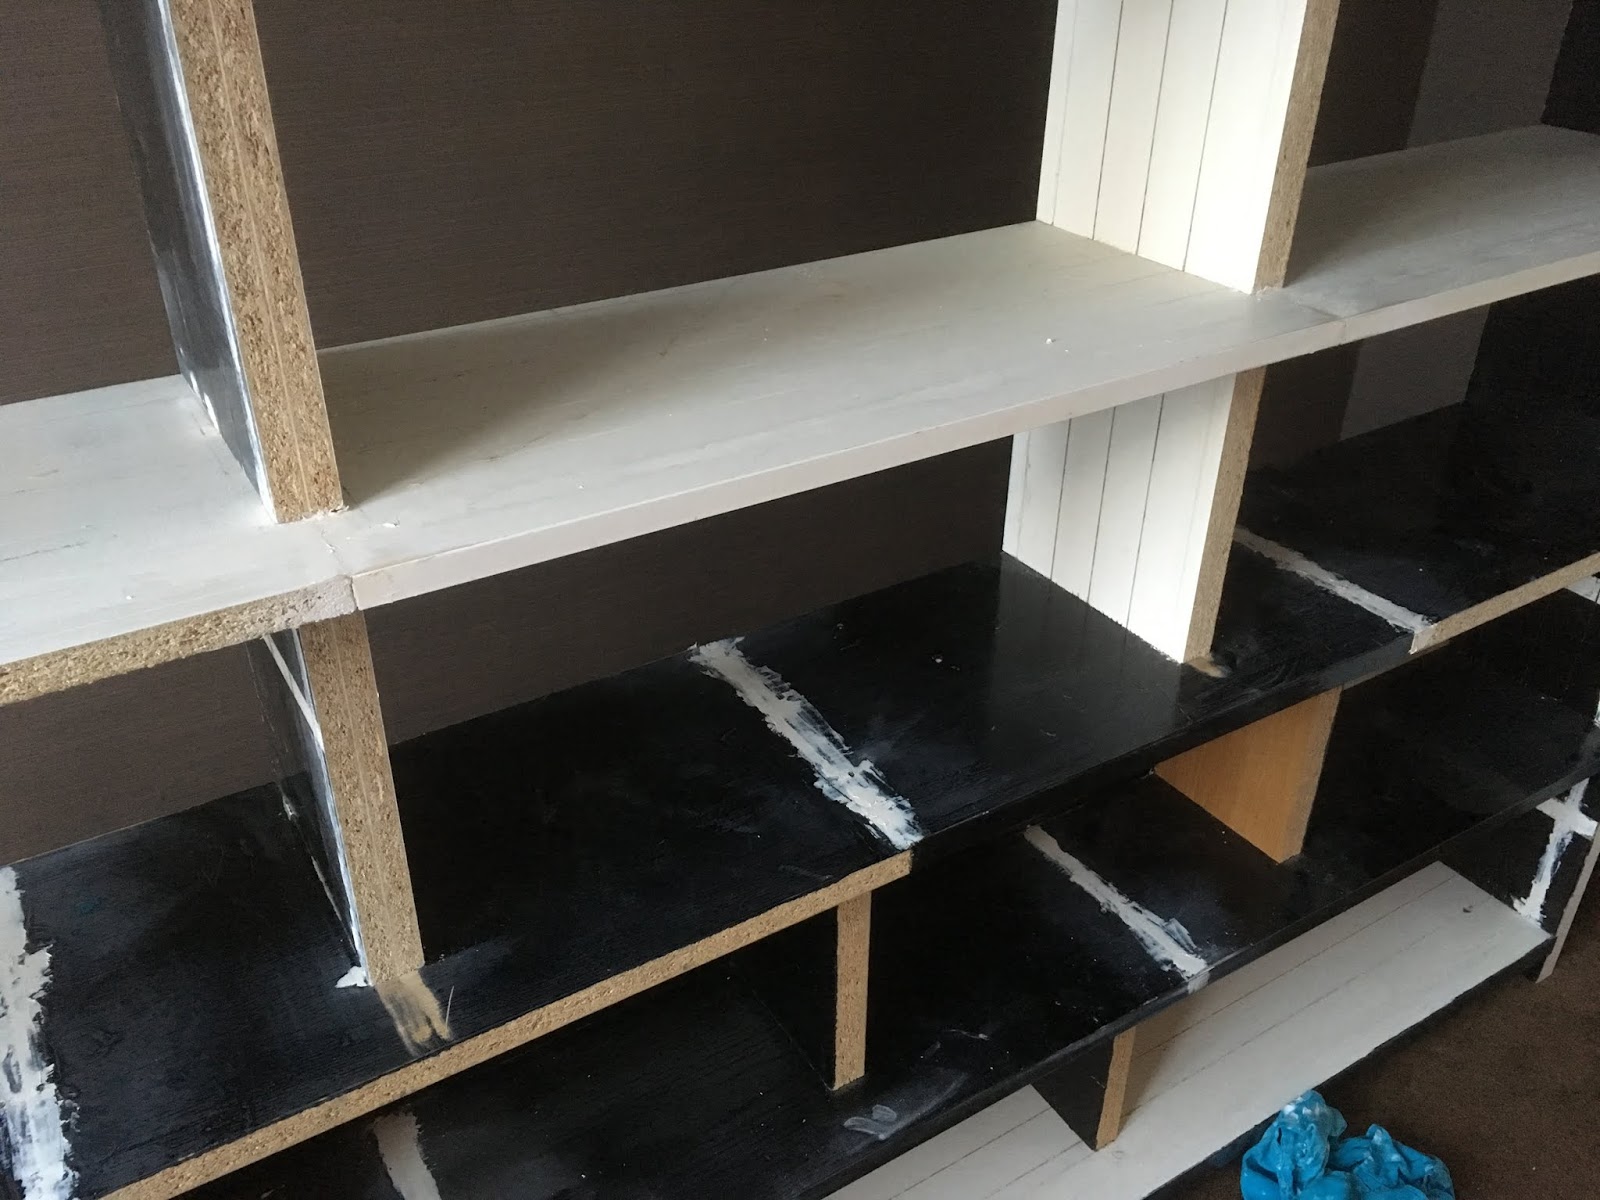
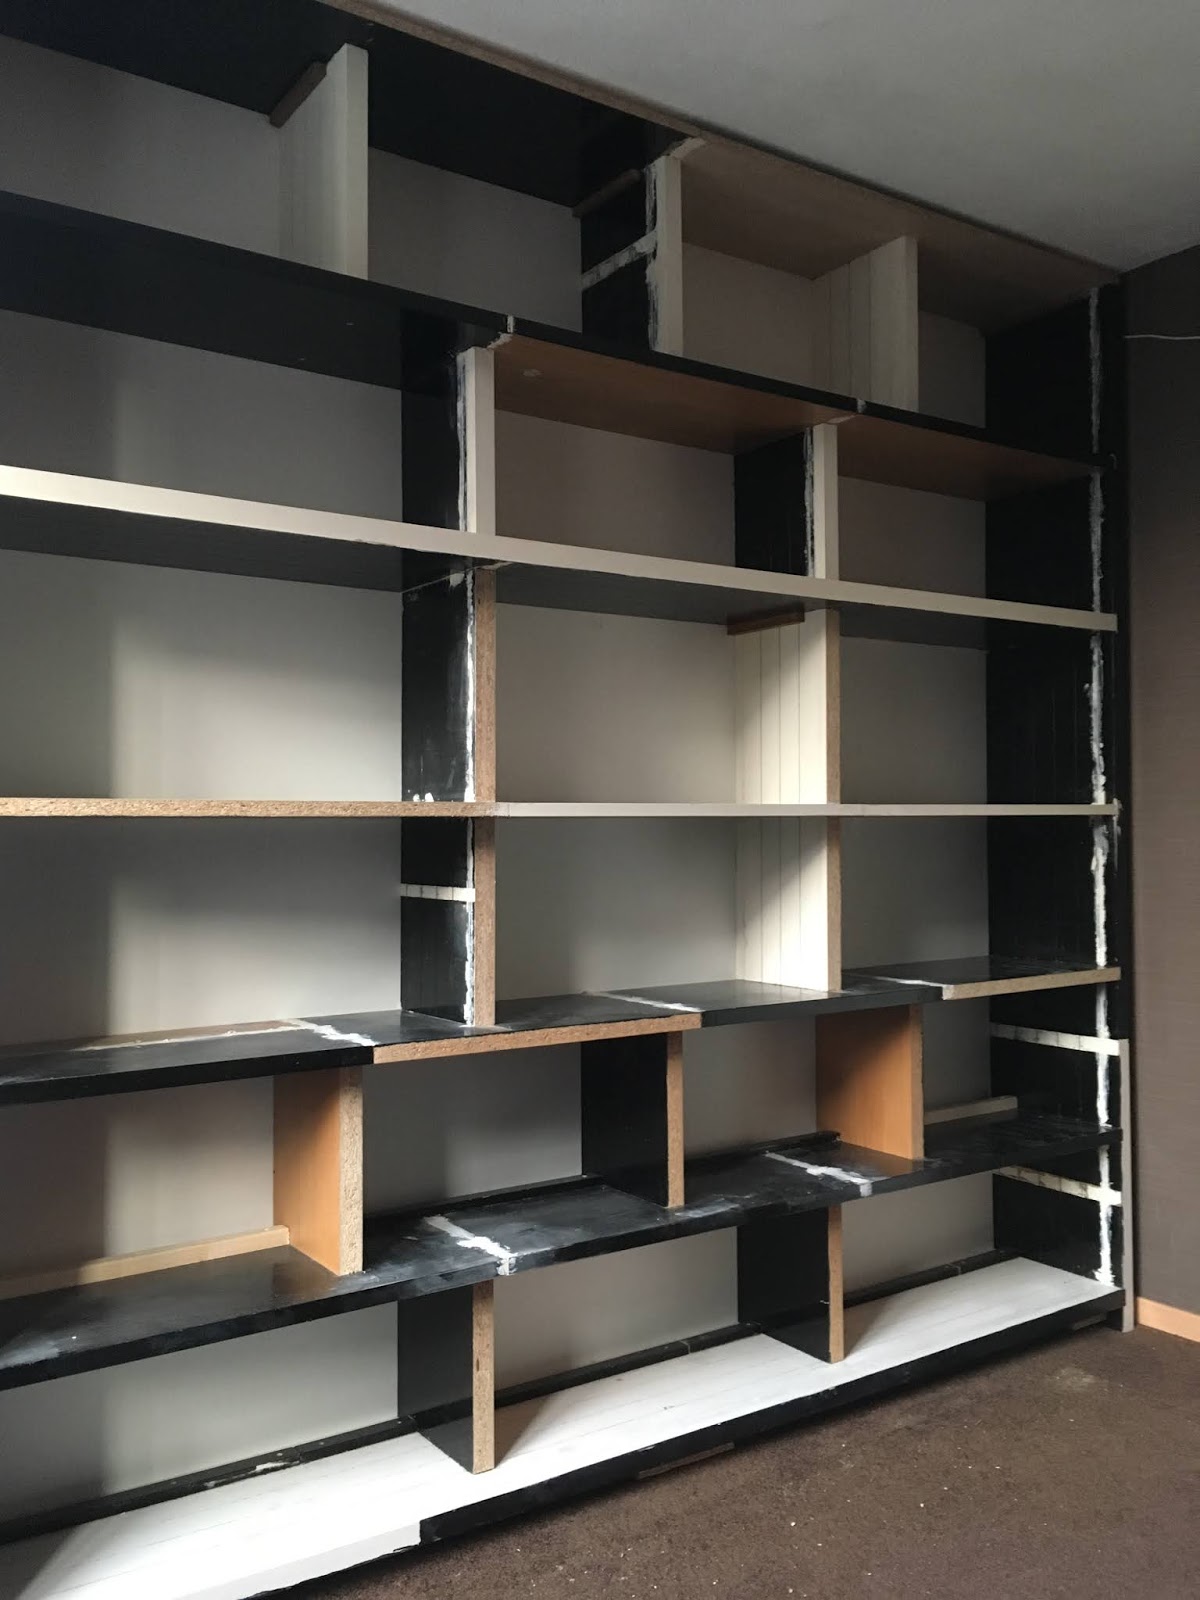
With the skeleton upright, I started to build the compartments one-by-one. The sizing of the lower compartments was determined by the size of the cassettes I use to store my magazine collection. To use a few shorter 28mm laminated chipboard shelfs, and keep the design a bit playful and elegant, two different width compartments are used; 3 or 4 in a row. Each shelve is glued and screwed in the routed slots in the outer uprights, and rests on the one below (also glued and screwed). Although the new bookcase is over 2.5 meters wide, it will be resistant to any sagging and will hold a massive load.
Next step; several rounds of filler, sanding and more filler to hide the gaps between the shorter shelfs. I also decided to install a simple board backdrop (the first piece of wood I had to buy) so the final bookcase will be a little less prone to collecting dust. All the salvaged wood needs to be painted in the end, so installing a standard whiteboard backdrop made perfect sense.
Paint it Black
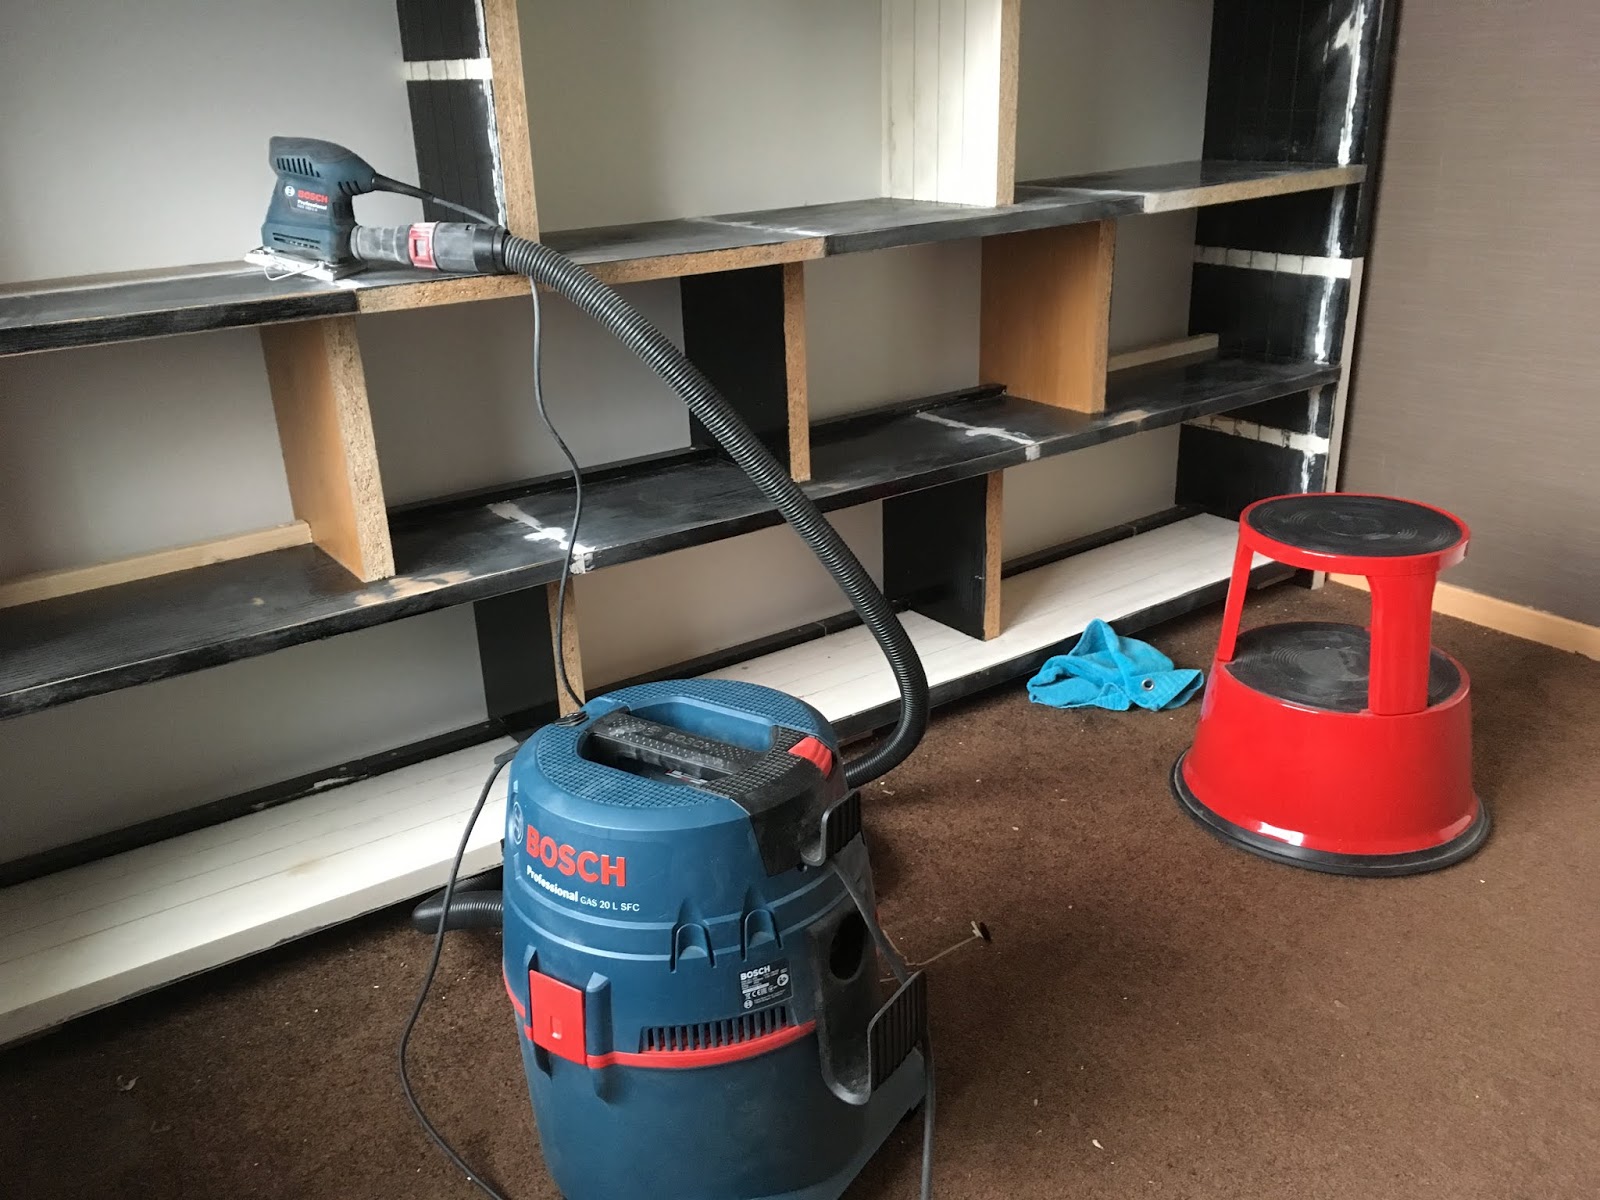
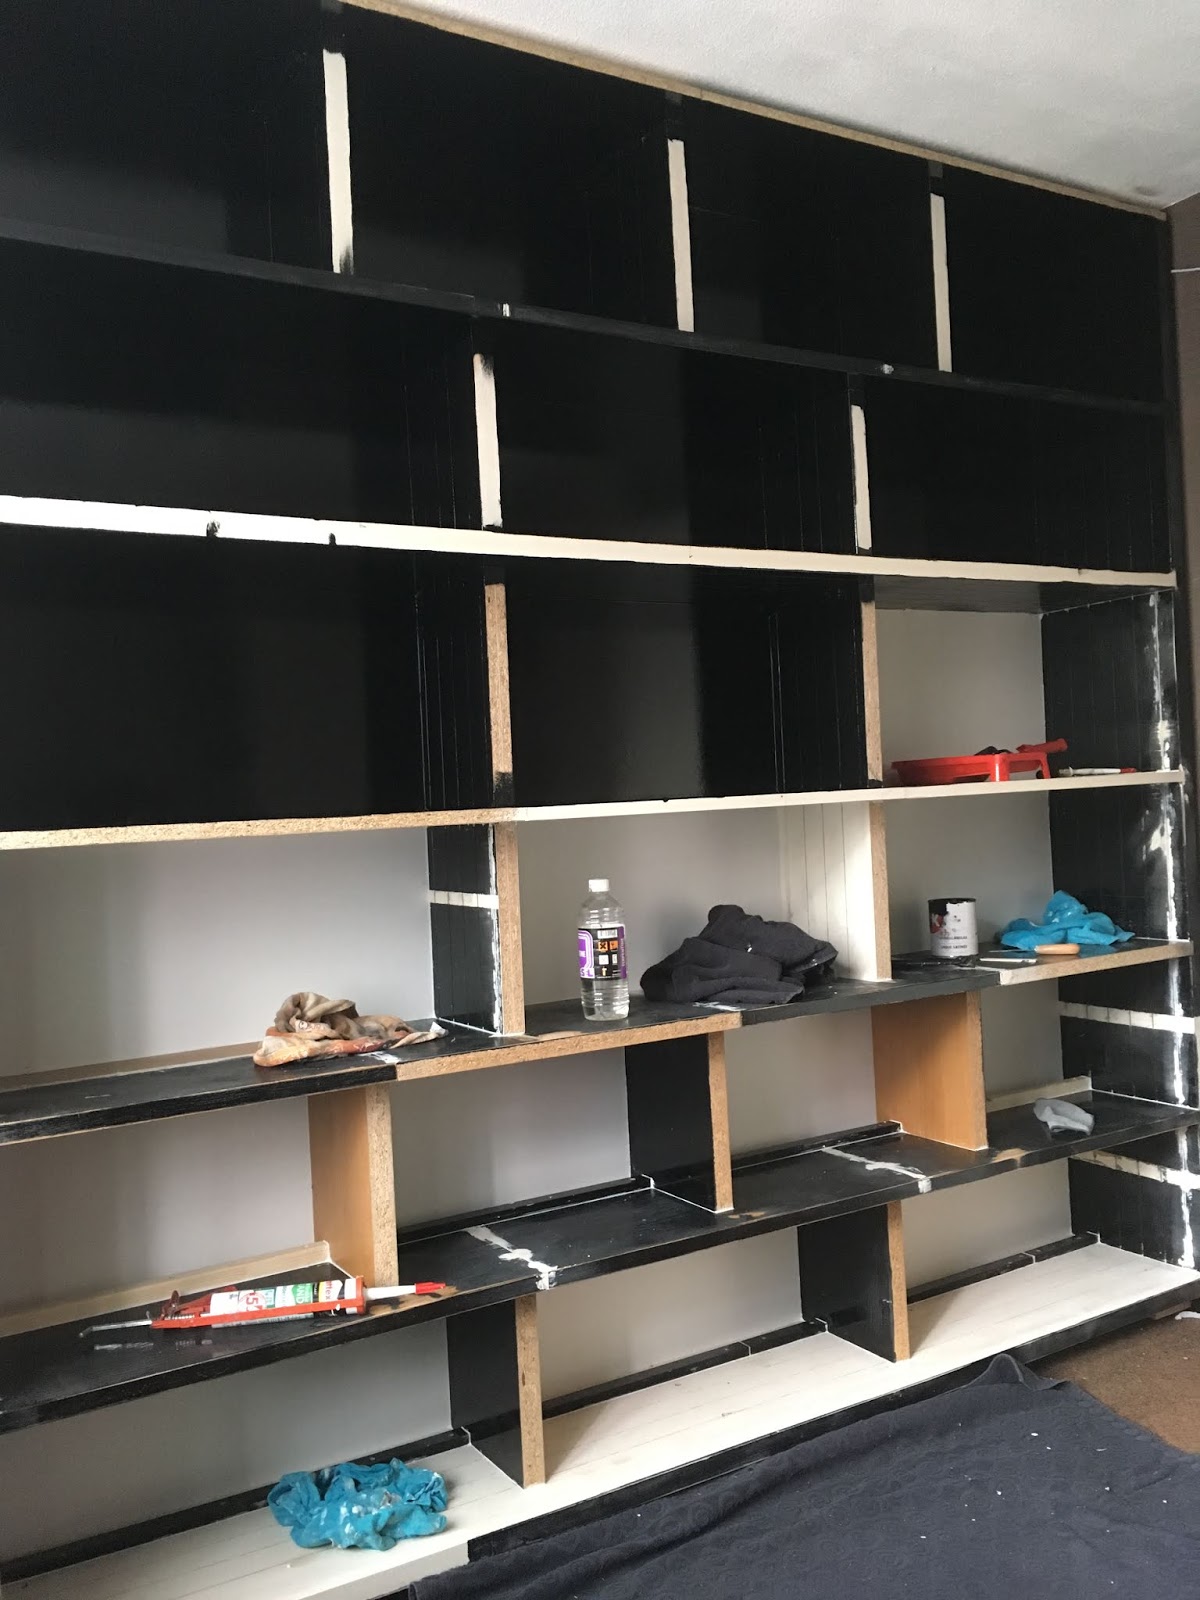
Now it’s time to make it a bit more presentable. A full day of sanding and a full day of applying acrylic sealant in each and every crack, should make the whole thing look more smooth after painting, and again, less prone to collecting dust. After rinsing each compartment to clean the surface of dust and grease, the compartments were painted one-by-one. Notice the frontal crosscut isn’t painted since that will receive a different finishing.
A quest for wood
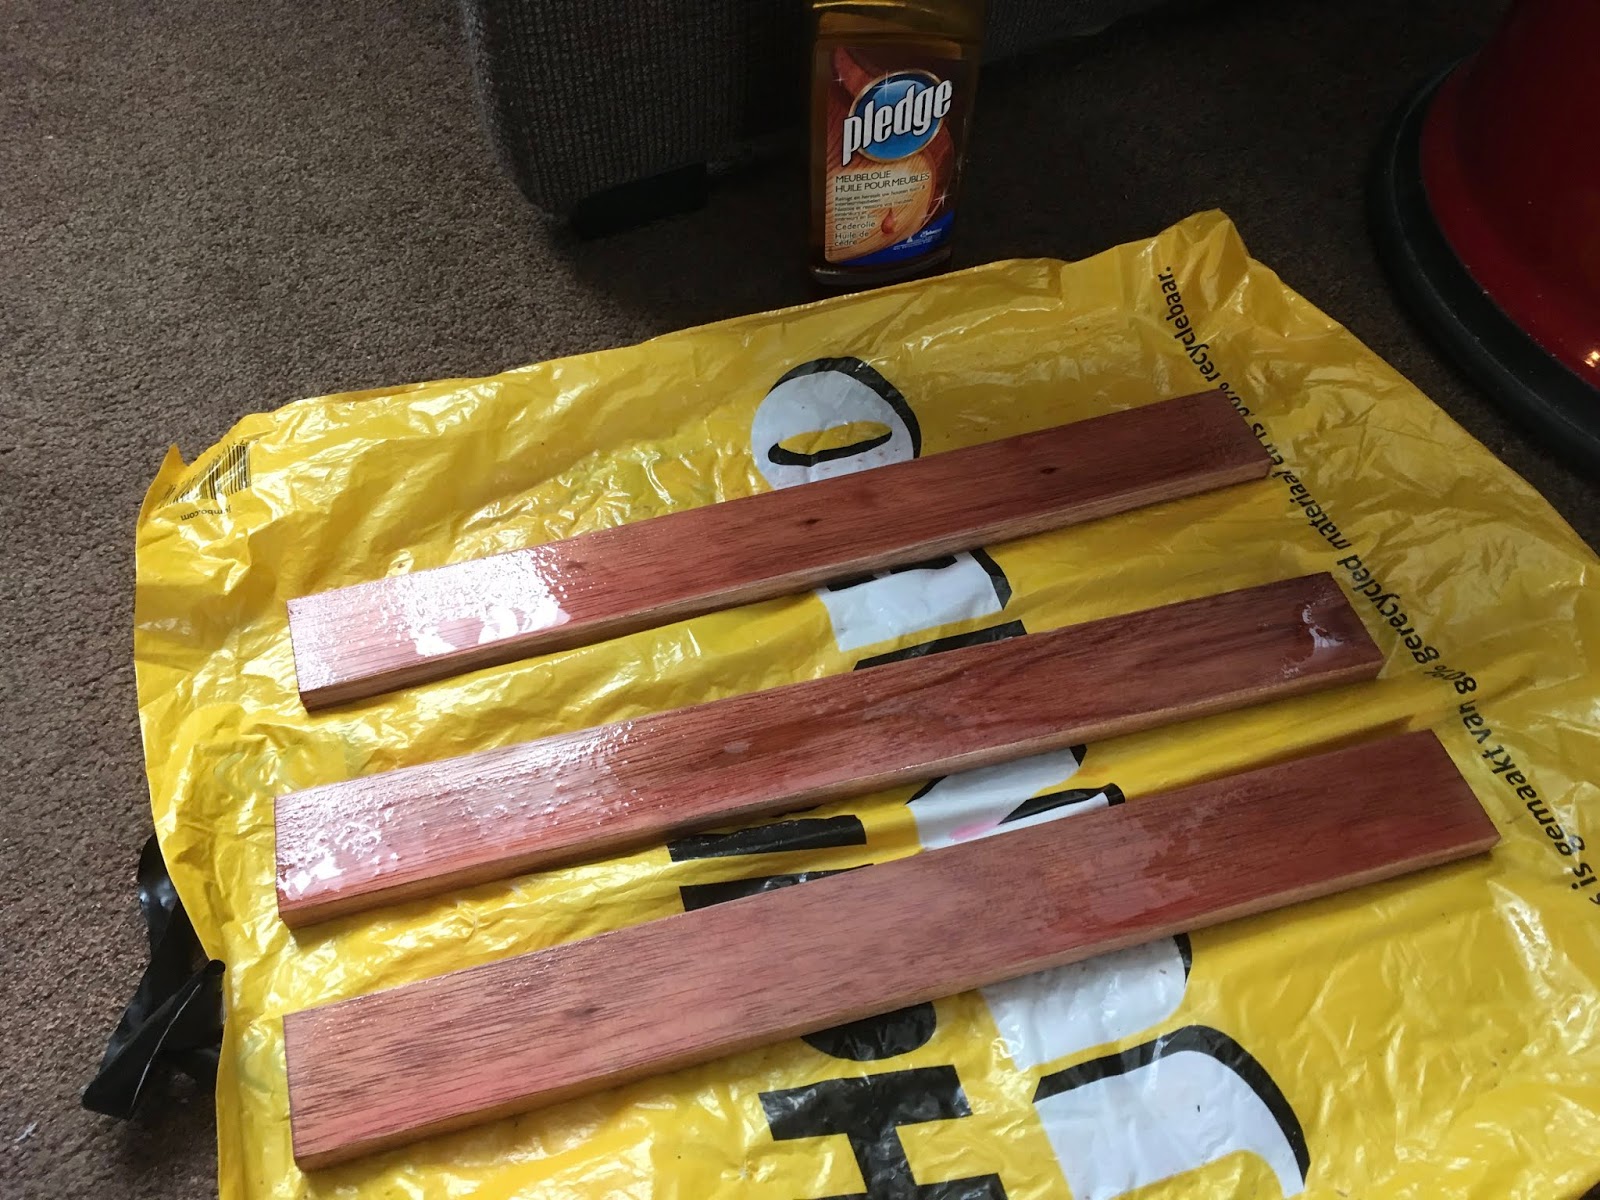
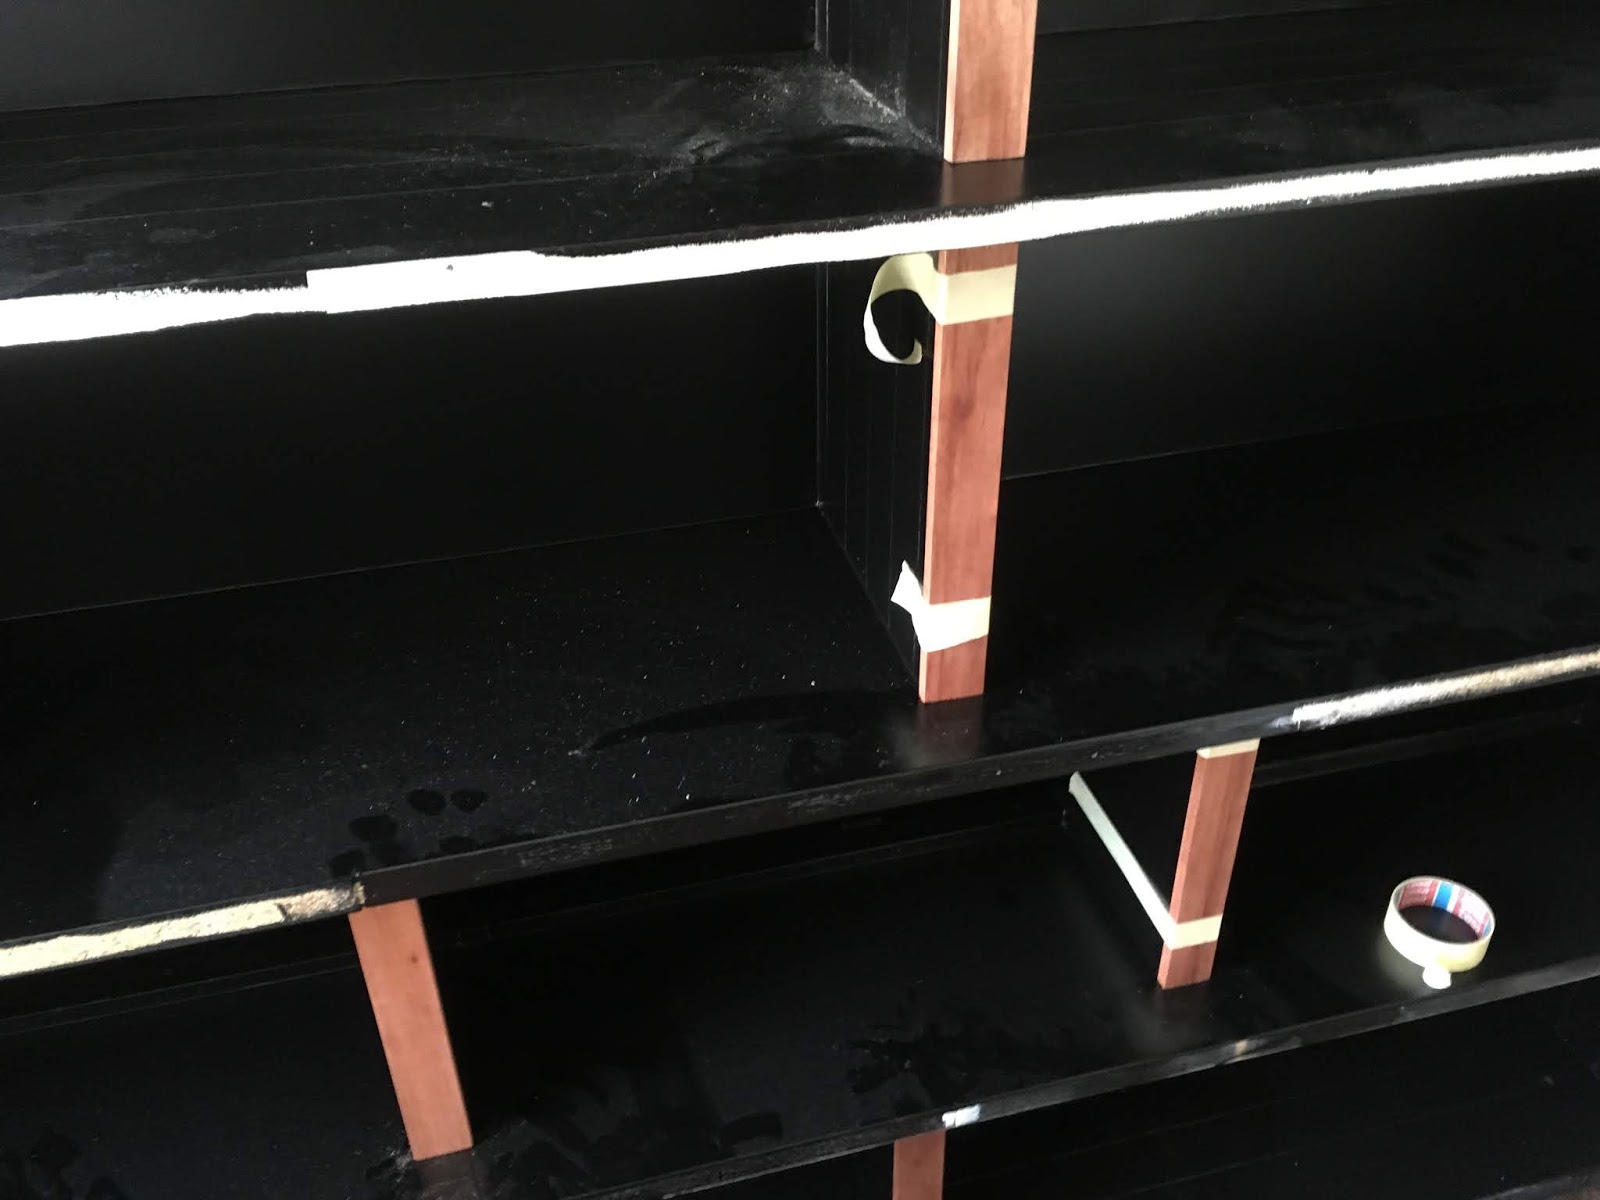
While I wanted to use oak wood for finishing the front, after some research I learned that, without a workshop, I needed to order finished strips of oak which proved way too expensive. After some deliberation I decided to finish the bookcase with standard meranti strips from a DIY shop and apply furmiture oil to give it a richer appearance. Starting with the small “inner-uprights”, pieces of meranti were oiled and glued to the front.
Finally (after months of raised eyebrows by friends and passers-by) the bookcase started to look like I envisioned from the start. When filled with books in the end; the books will be surrounded by matte-black in their compartments and the bookcase appears to be made of some nice hardwood (while it’s actually make of salvaged laminated chipboard).
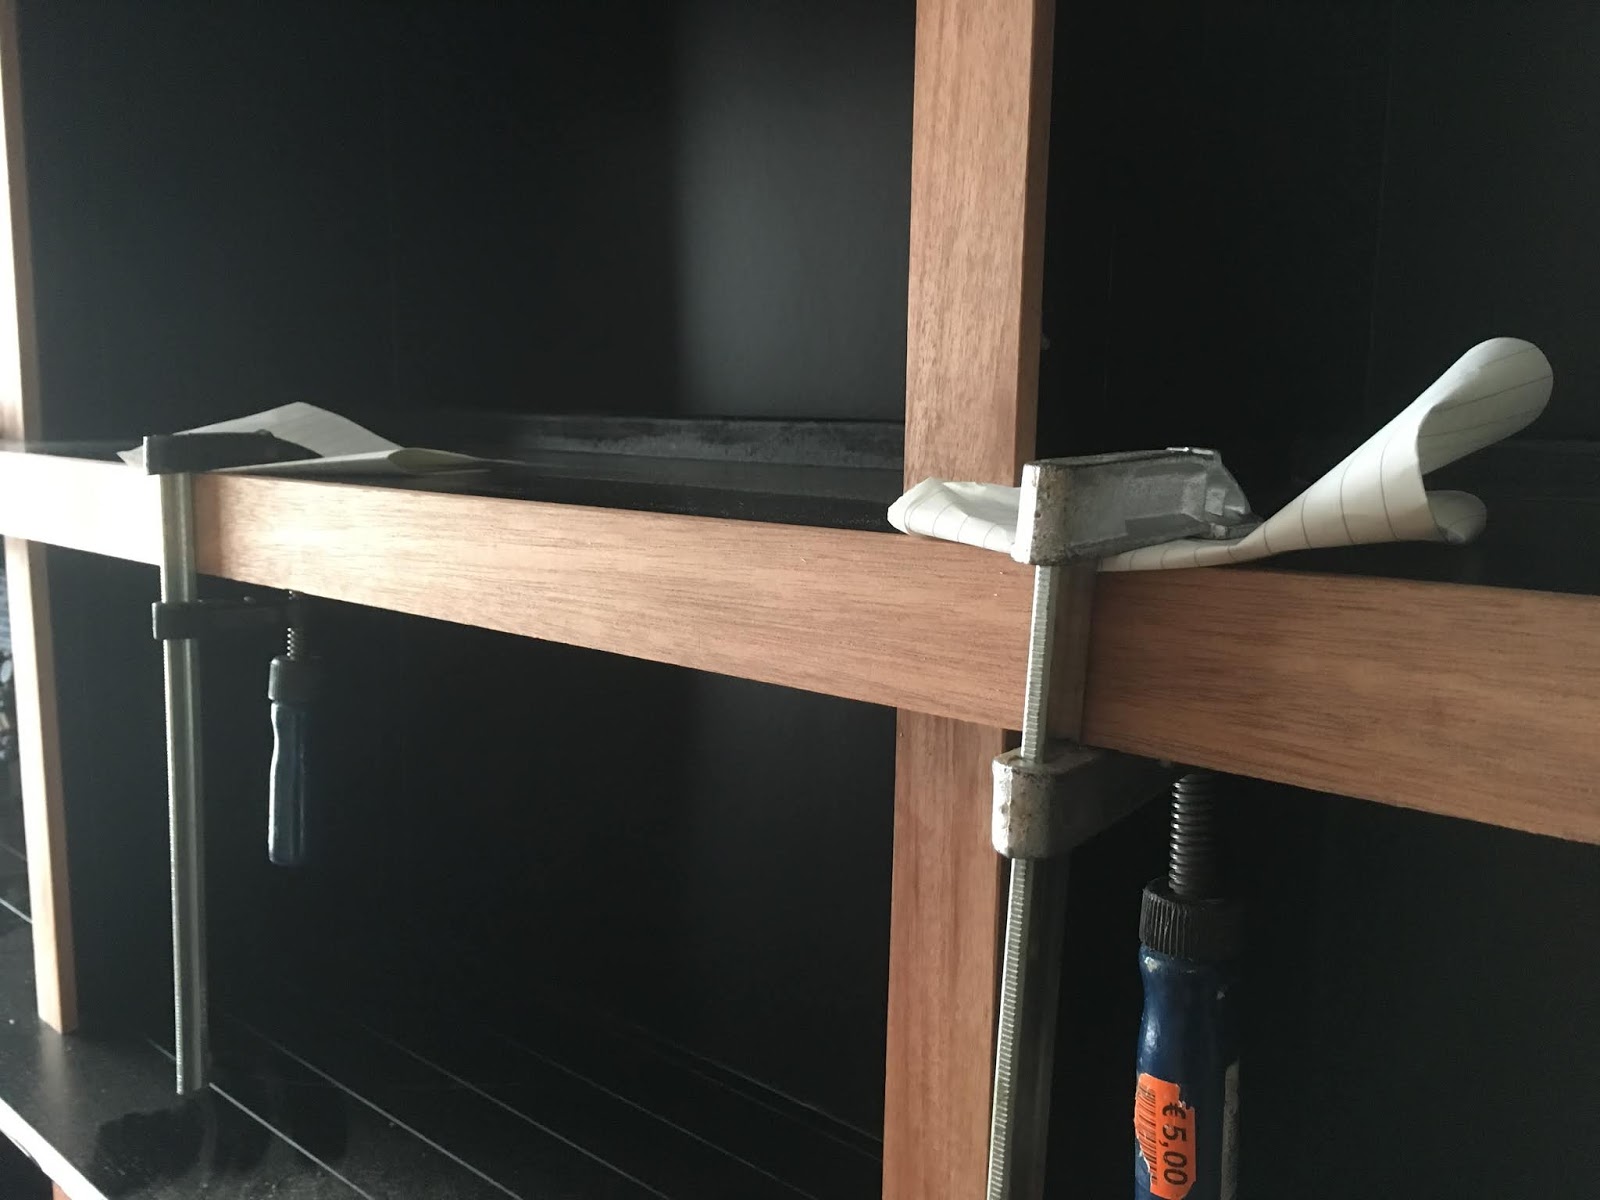
Drillin’ for dowels
For the horizontal finishing strips I felt they needed more support then simply glueing them in place. Best solution would be to route a sloth and finger, but it would be a massive amount of additional work and we became pretty annoyed by all the sawdust in the house (and there was one more sawdust-exploding in our near future).
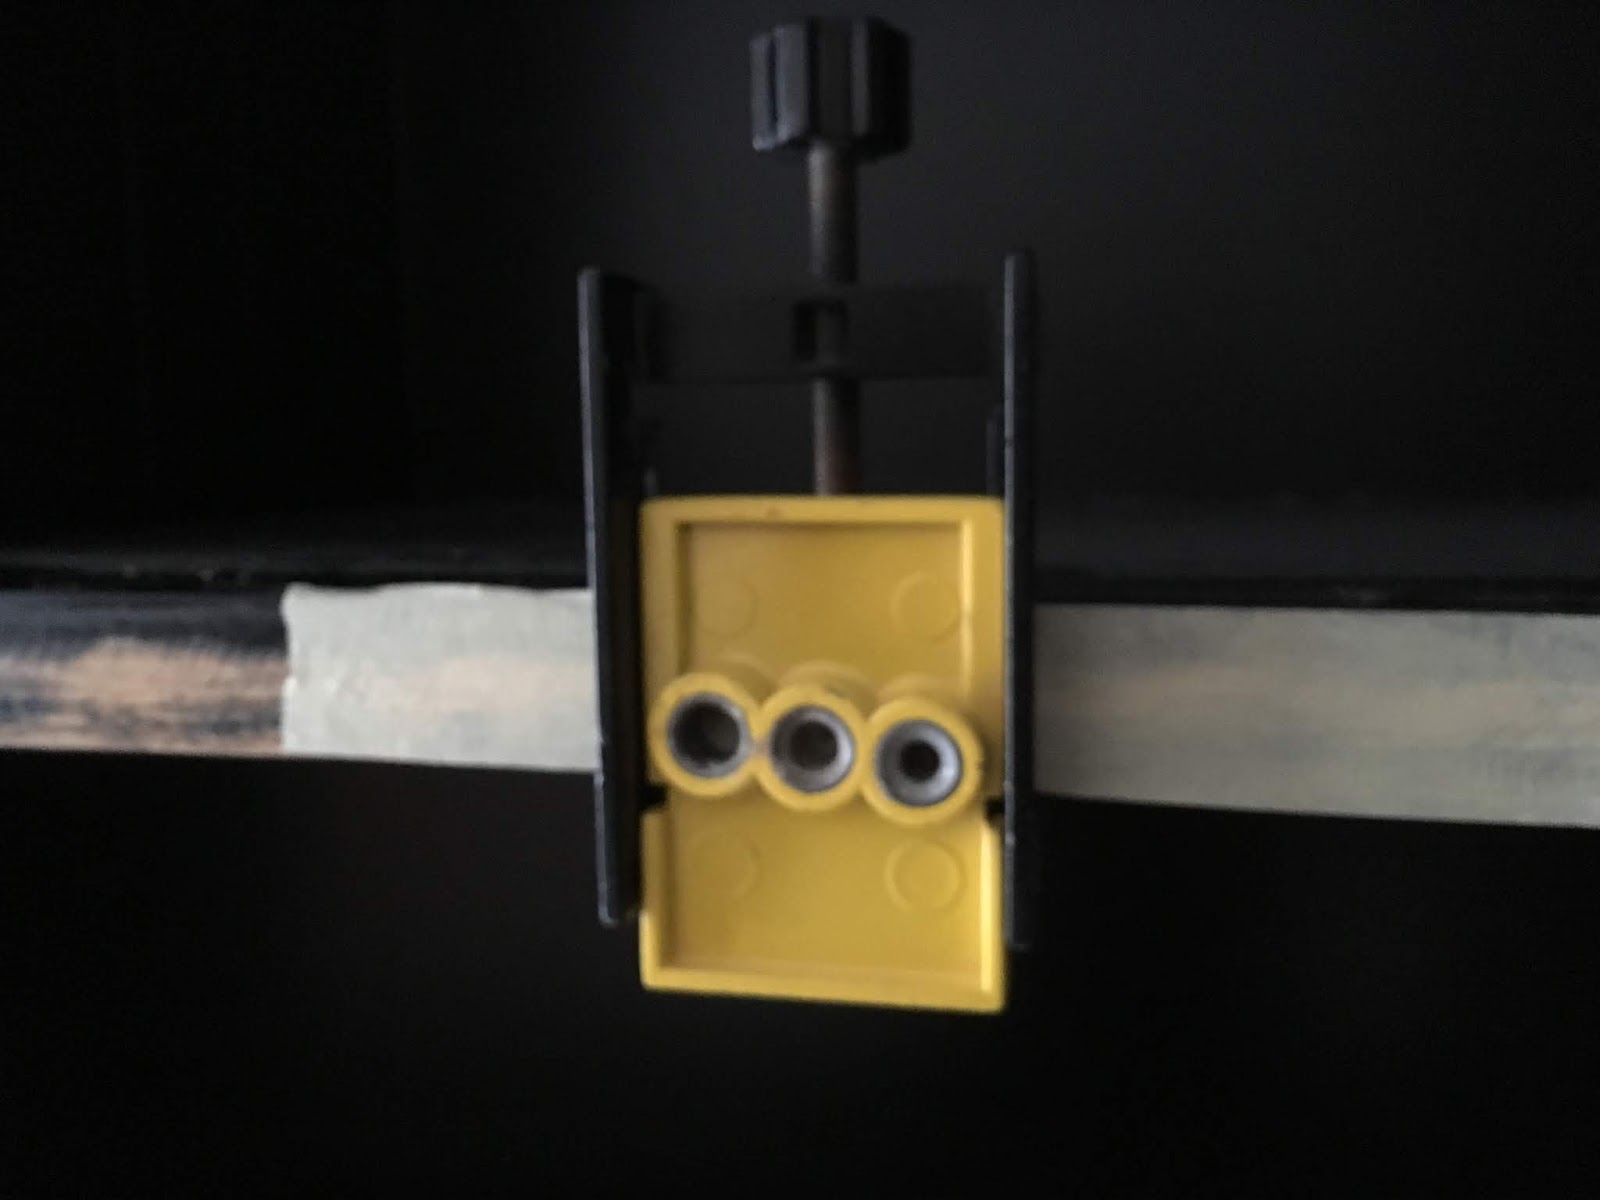
Biscuits would be the next best thing; but I do not own the equipment for that, so I opted to carefully drill a couple of dowels in each strip and the shelves receiving them. With this helpful yellow tool I made sure the hole were drilled square and at the right depth. Some creative use of wood clamps and lots of patience during the hardening of the Gorilla Glue, and another 7 days went by to have all horizontal fronts done.
Sawdust
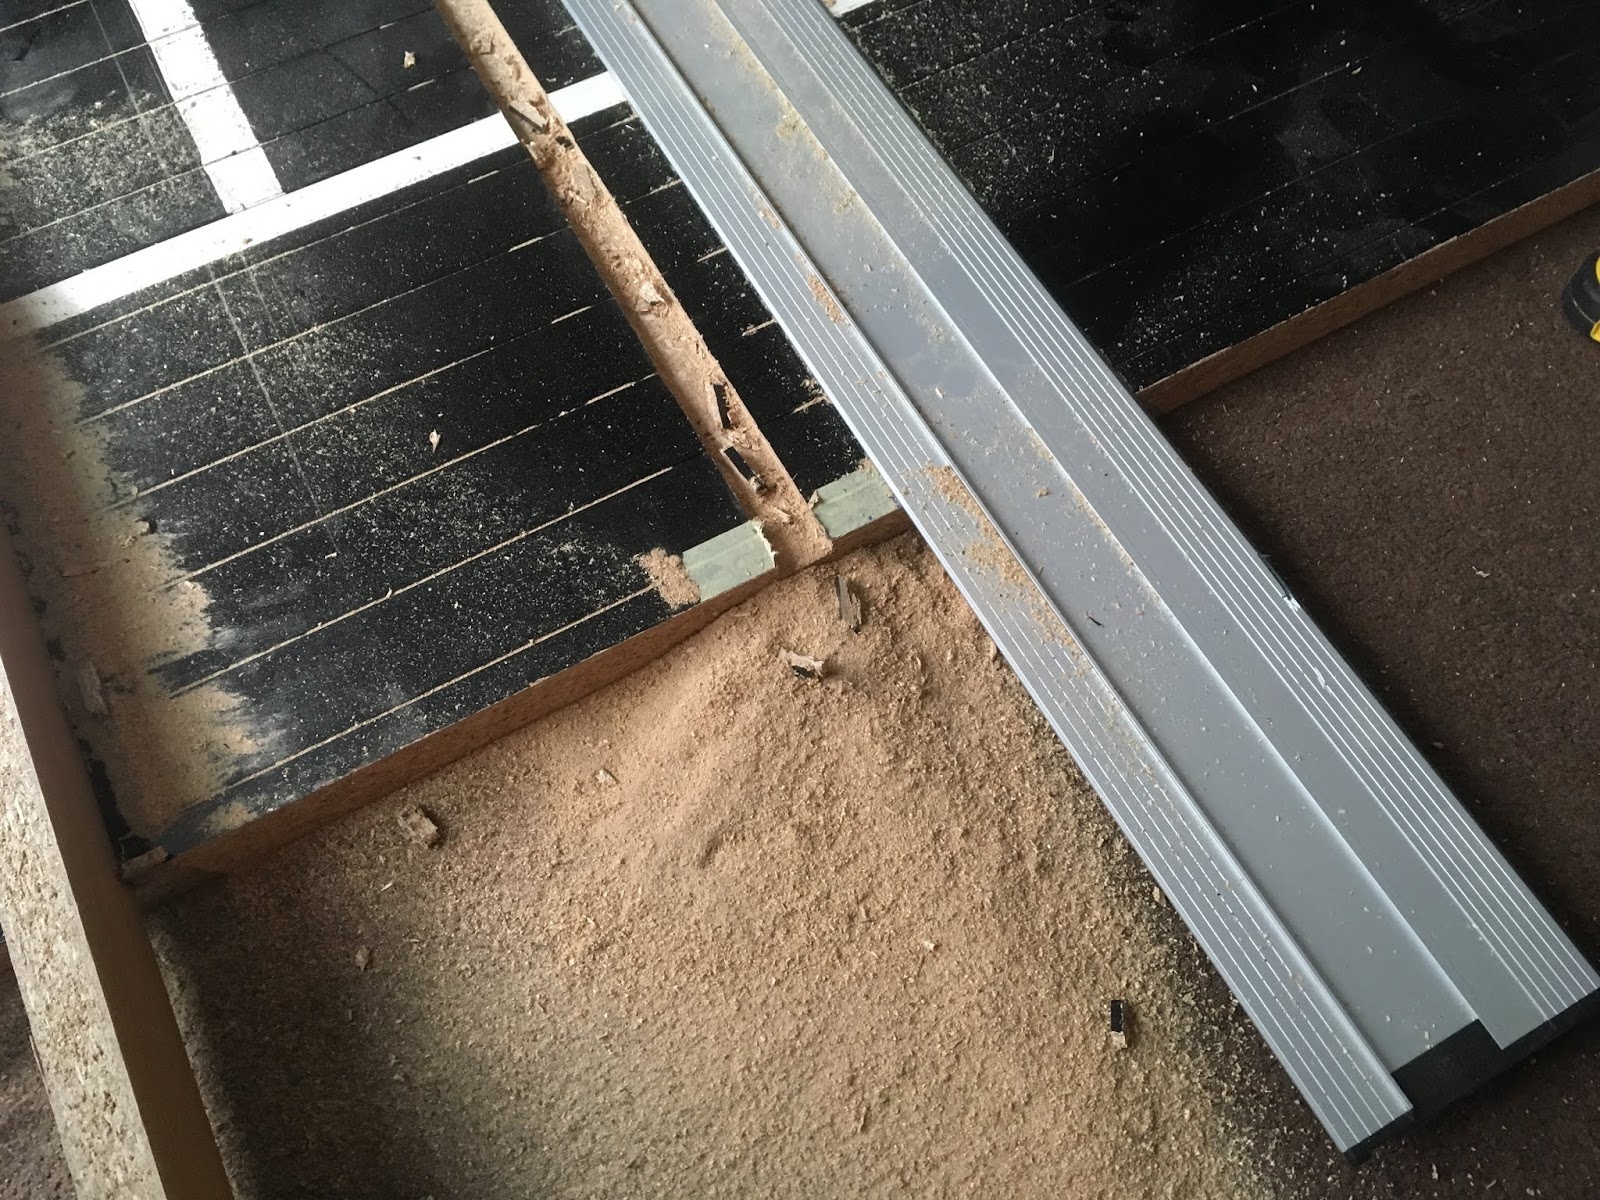
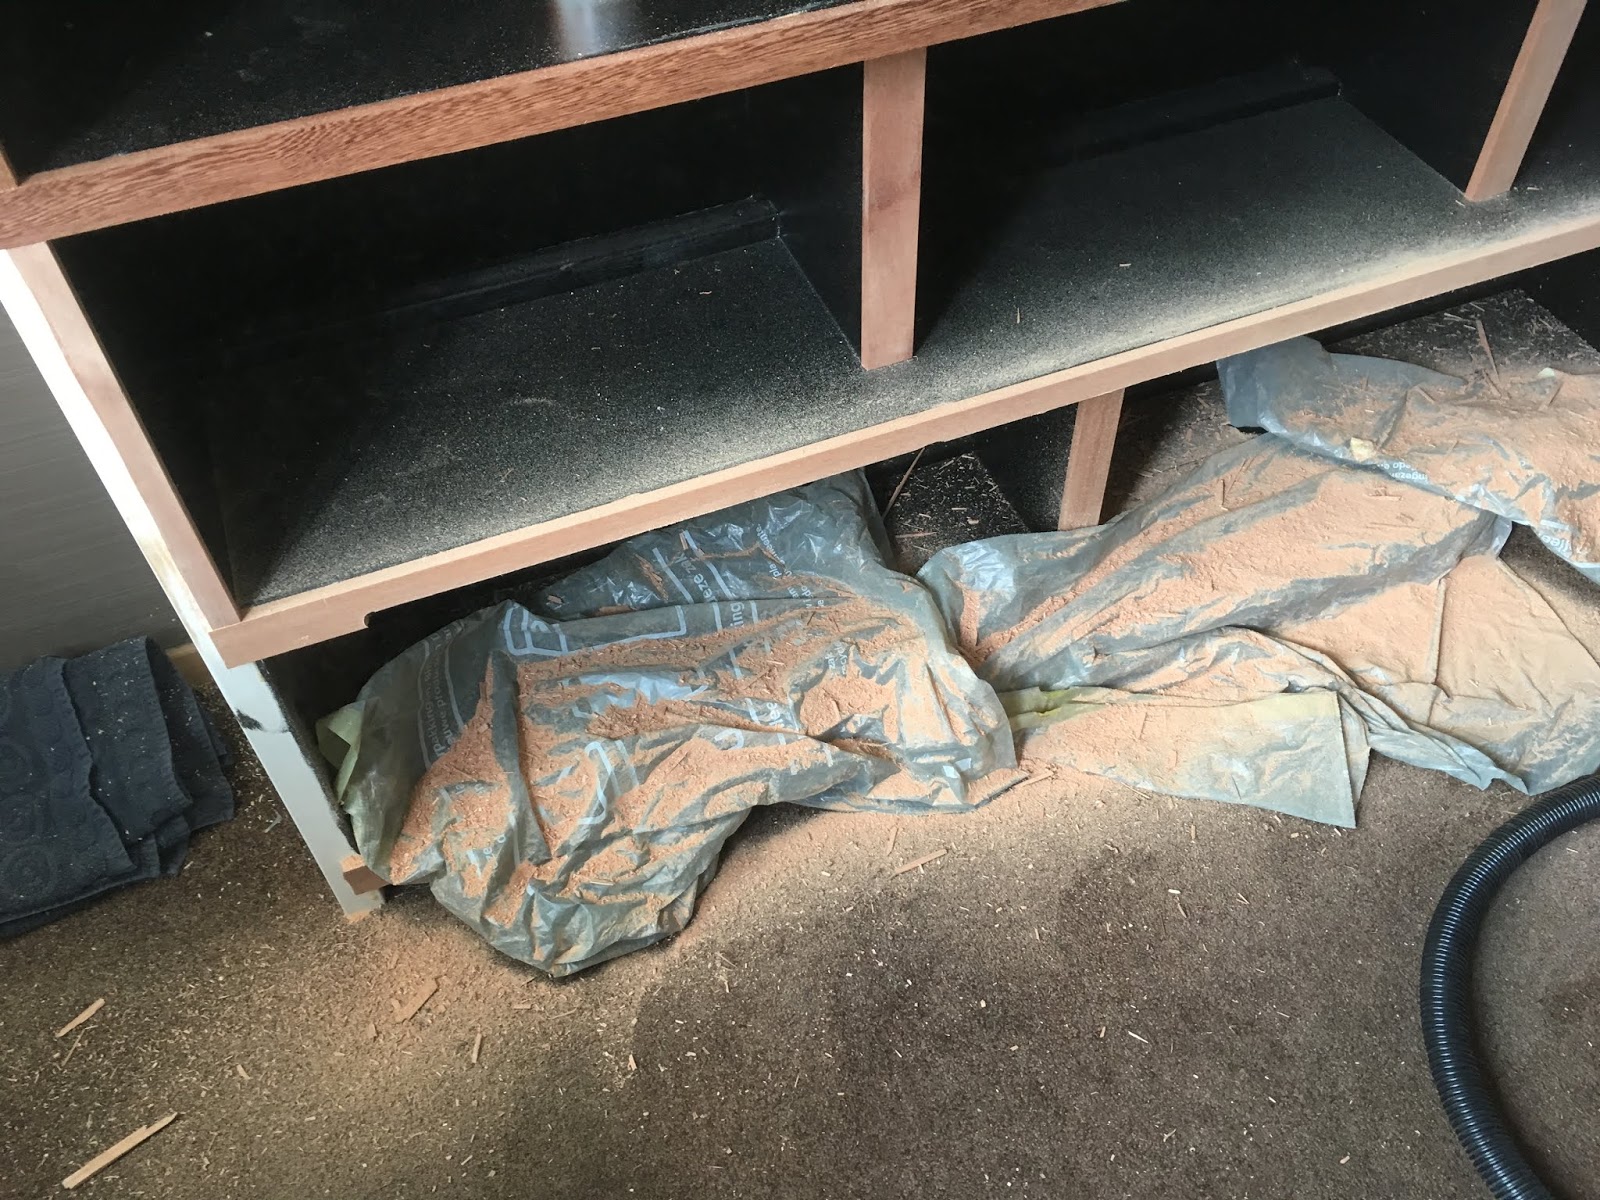
Then it became time to fix an error that crept in between planning to use of custom oak strips and standard sized meranti strips. From the start (when routing the dado slots) the compartments where carefully sized to fit particular series of books. The bottom two shelves will be used for cassettes filled with magazines. Leaving 15mm space above the cassettes to minimise dust collecting inside the magazine cassettes.
The standard size meranti strips where bigger than planned, leaving too little space to move the cassettes in-and-out. Without a machine workshop, I figured that routing them smaller while already attached to the bookcase would be the easiest way. SAWDUST explosion all over again.
Faux Panelling
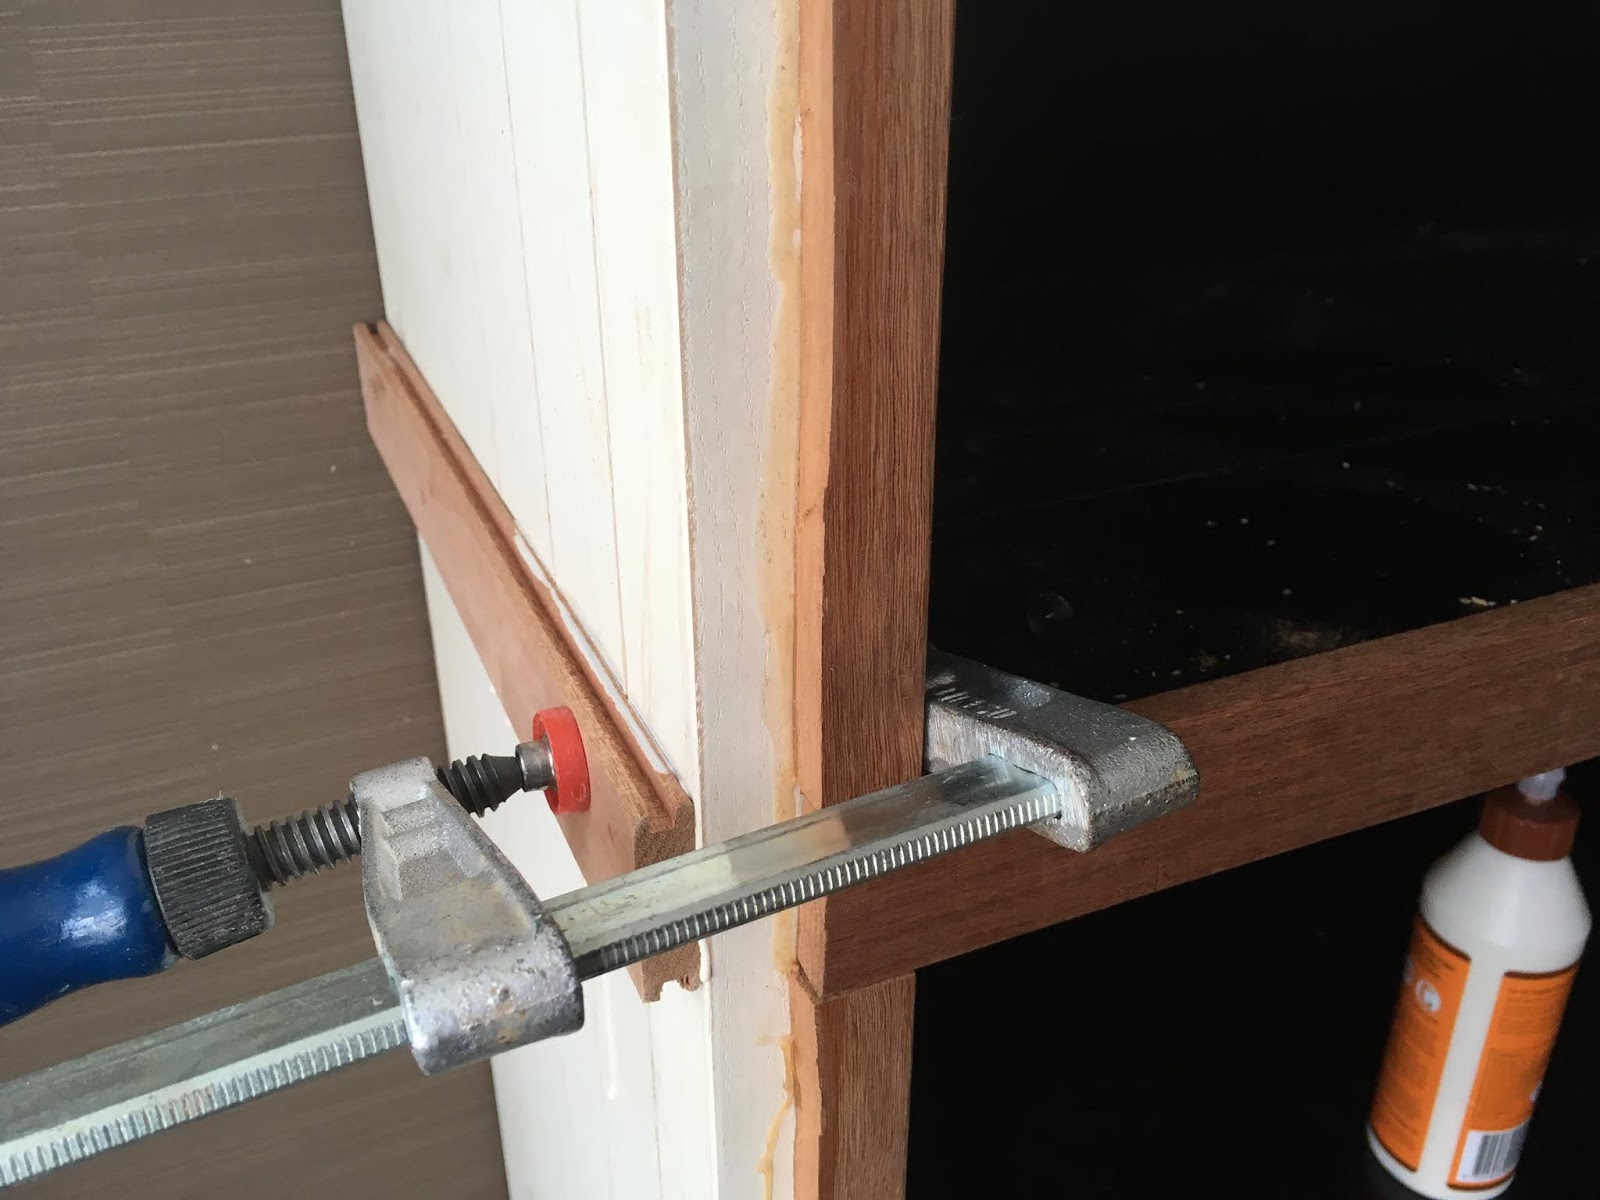
Last part of construction; the outer-uprights. While making the plans (mostly in my head, some rough sketches) I knew I could not trust on my (lacking) skills to end up with perfectly fitting square and mitre-cut connections between the horizontal shelves and the outer uprights.
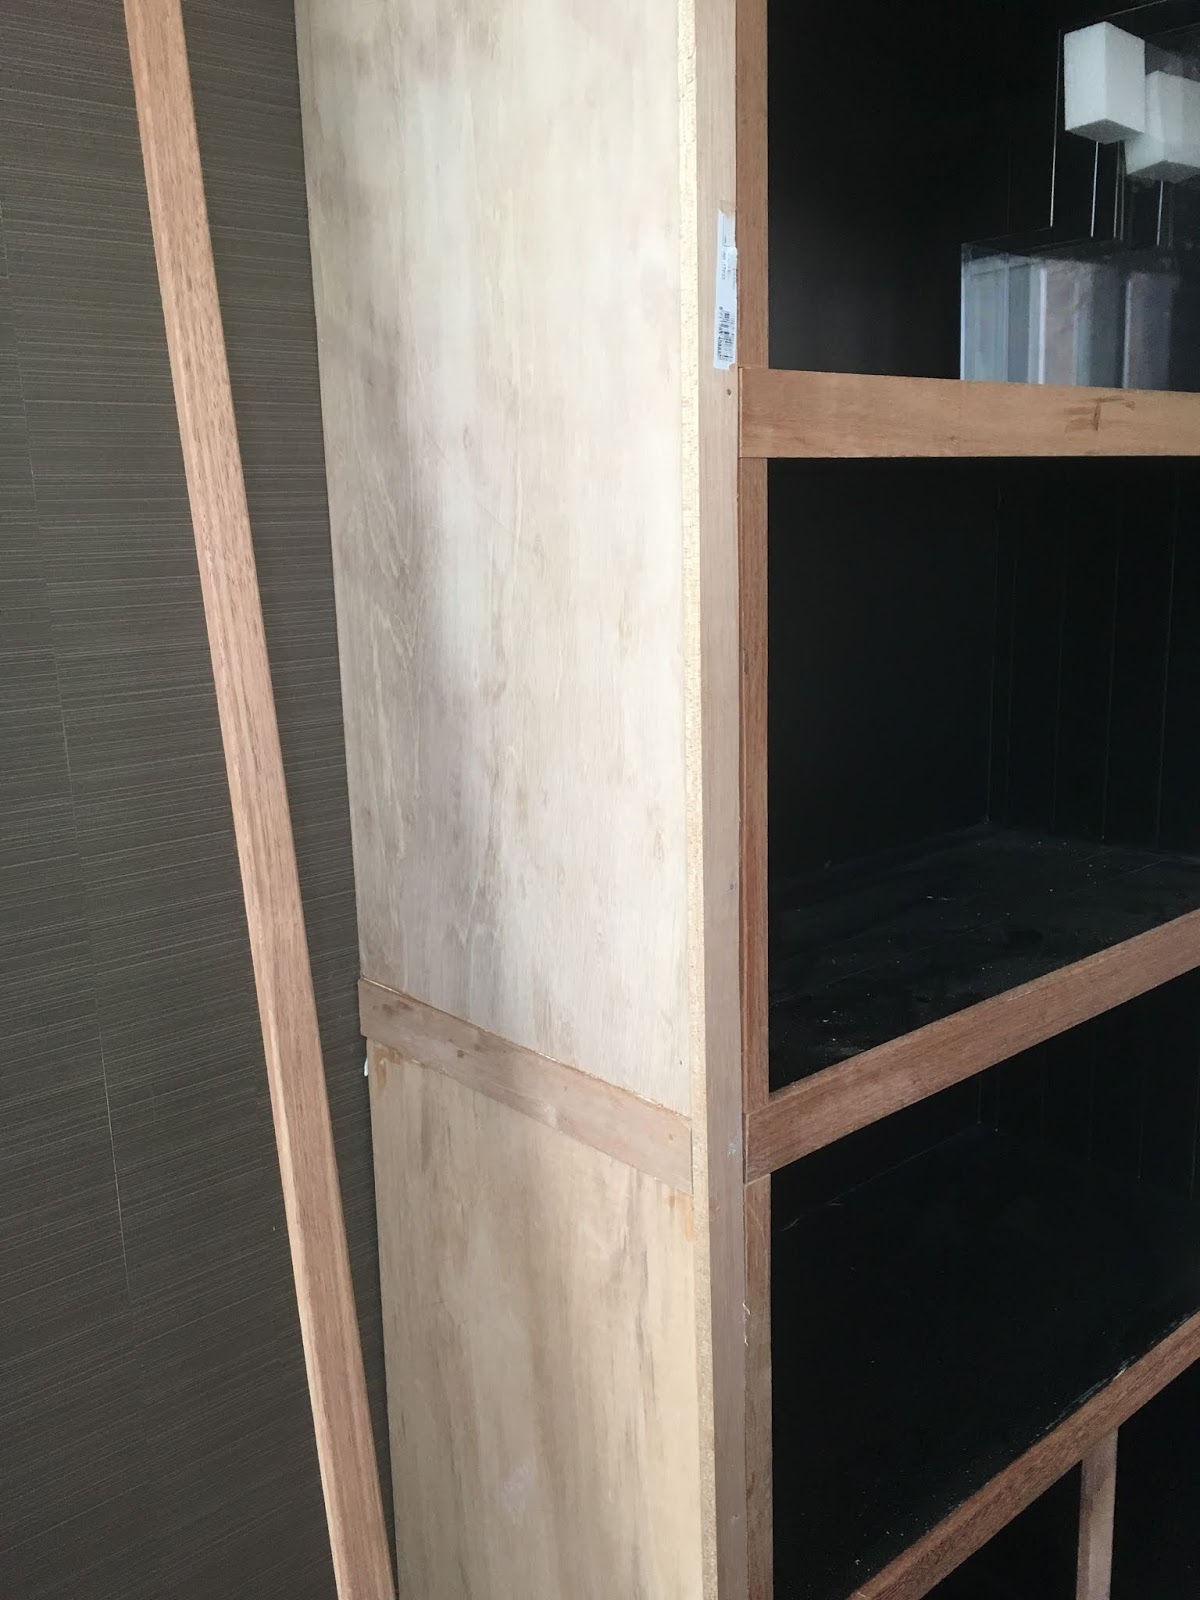
So I came up with this trick; have the horizontal strips stick out approximately halfway through the upright. Then fit tiny, half strips in-between, here I could easily fail, sand, multiple fits etcetera since it was one tiny piece of wood at a time. On the outer corner of the upright; there is another half strip, but this one running for the whole height of 2.4 meters. The ugly gap in the middle will be hidden by a simple decorative meranti hardwood strip again.
Also the lefthand-side of the bookcase, is covered in hardwood fake-panelling to hide both the fact that it’s a chipwood bookcase to begin with, and hide the screws that were used during construction.
Almost done
All that’s left now is some sanding to finish the edges of the meranti wood and applying a good amount of oil where still needed. Also, I still need to affix the top of the bookcase snug to the wall, to prevent tipping, which is actually impossible due to the finished size, but better safe than sorry.
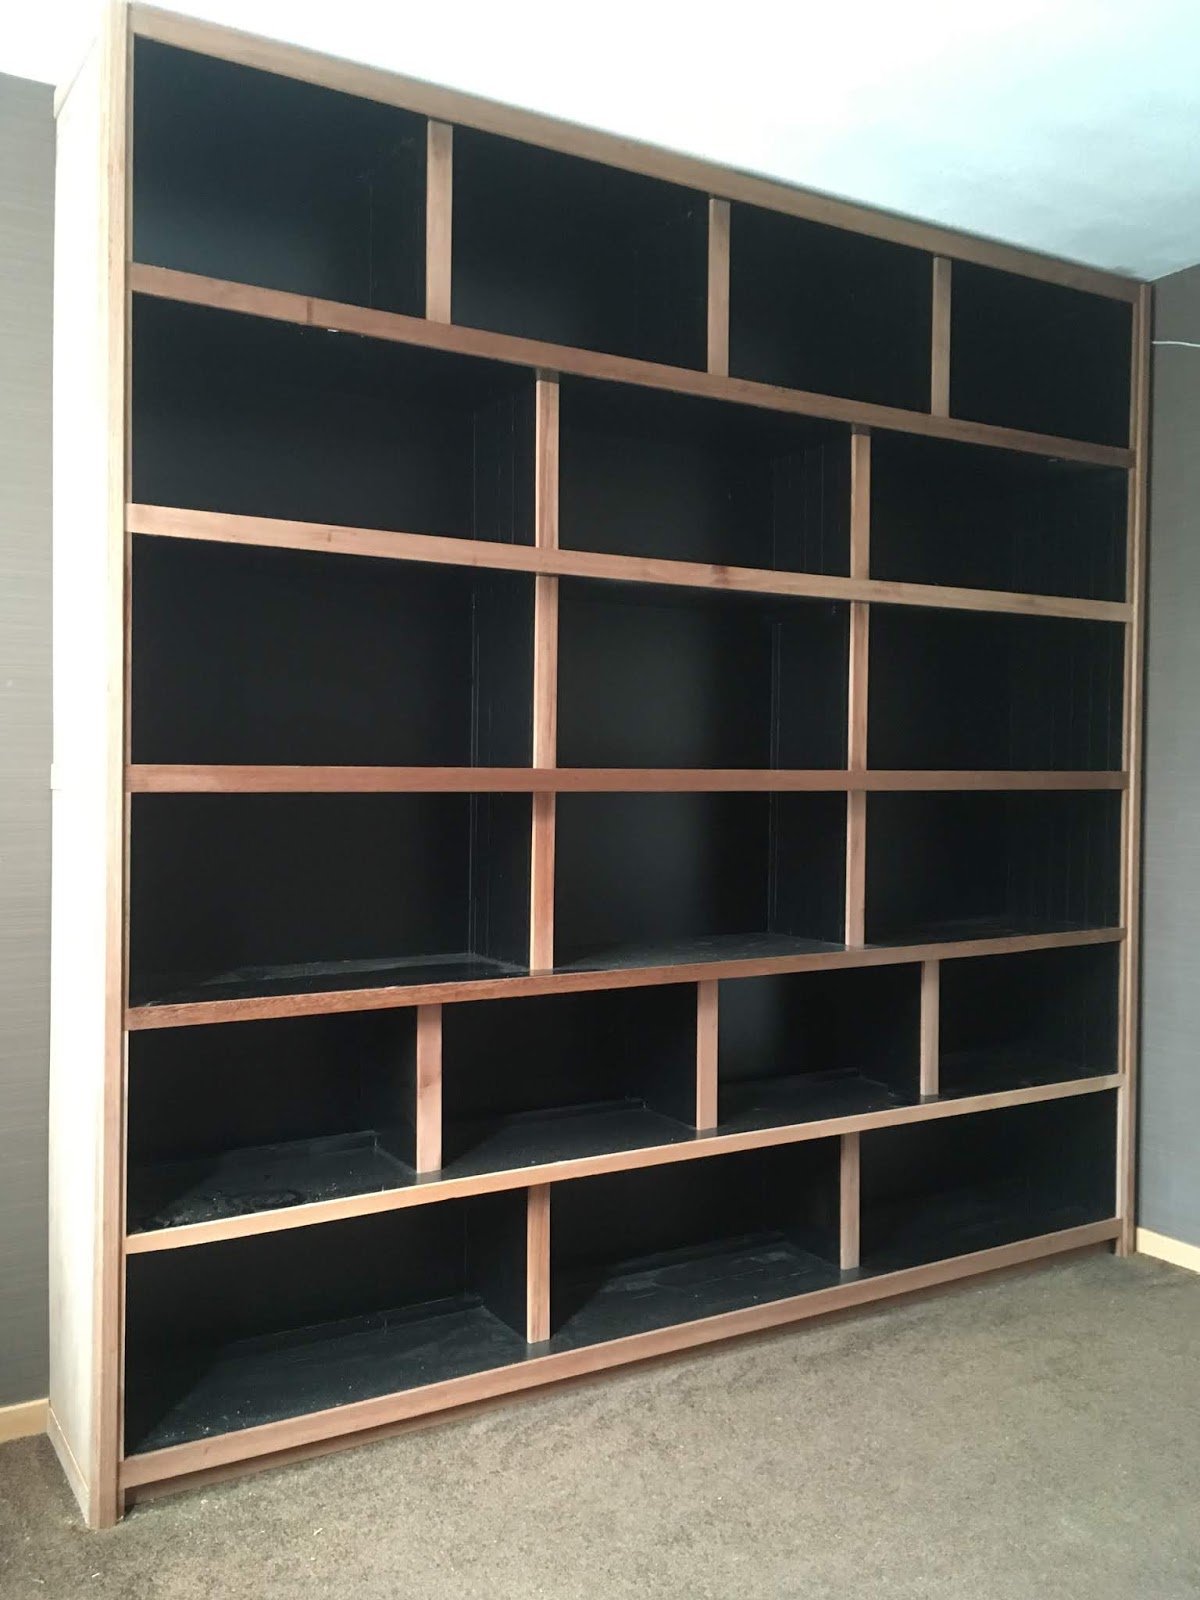

And of course a final rinse before moving all the books and magazines to this room and spent probably spent many hour in my happy-place deciding exactly which book should go where.
 Edwin van Nes, Netherlands